CCS
Width, Hole, Edge crack Detection System
Width, Hole, Edge crack Detection System
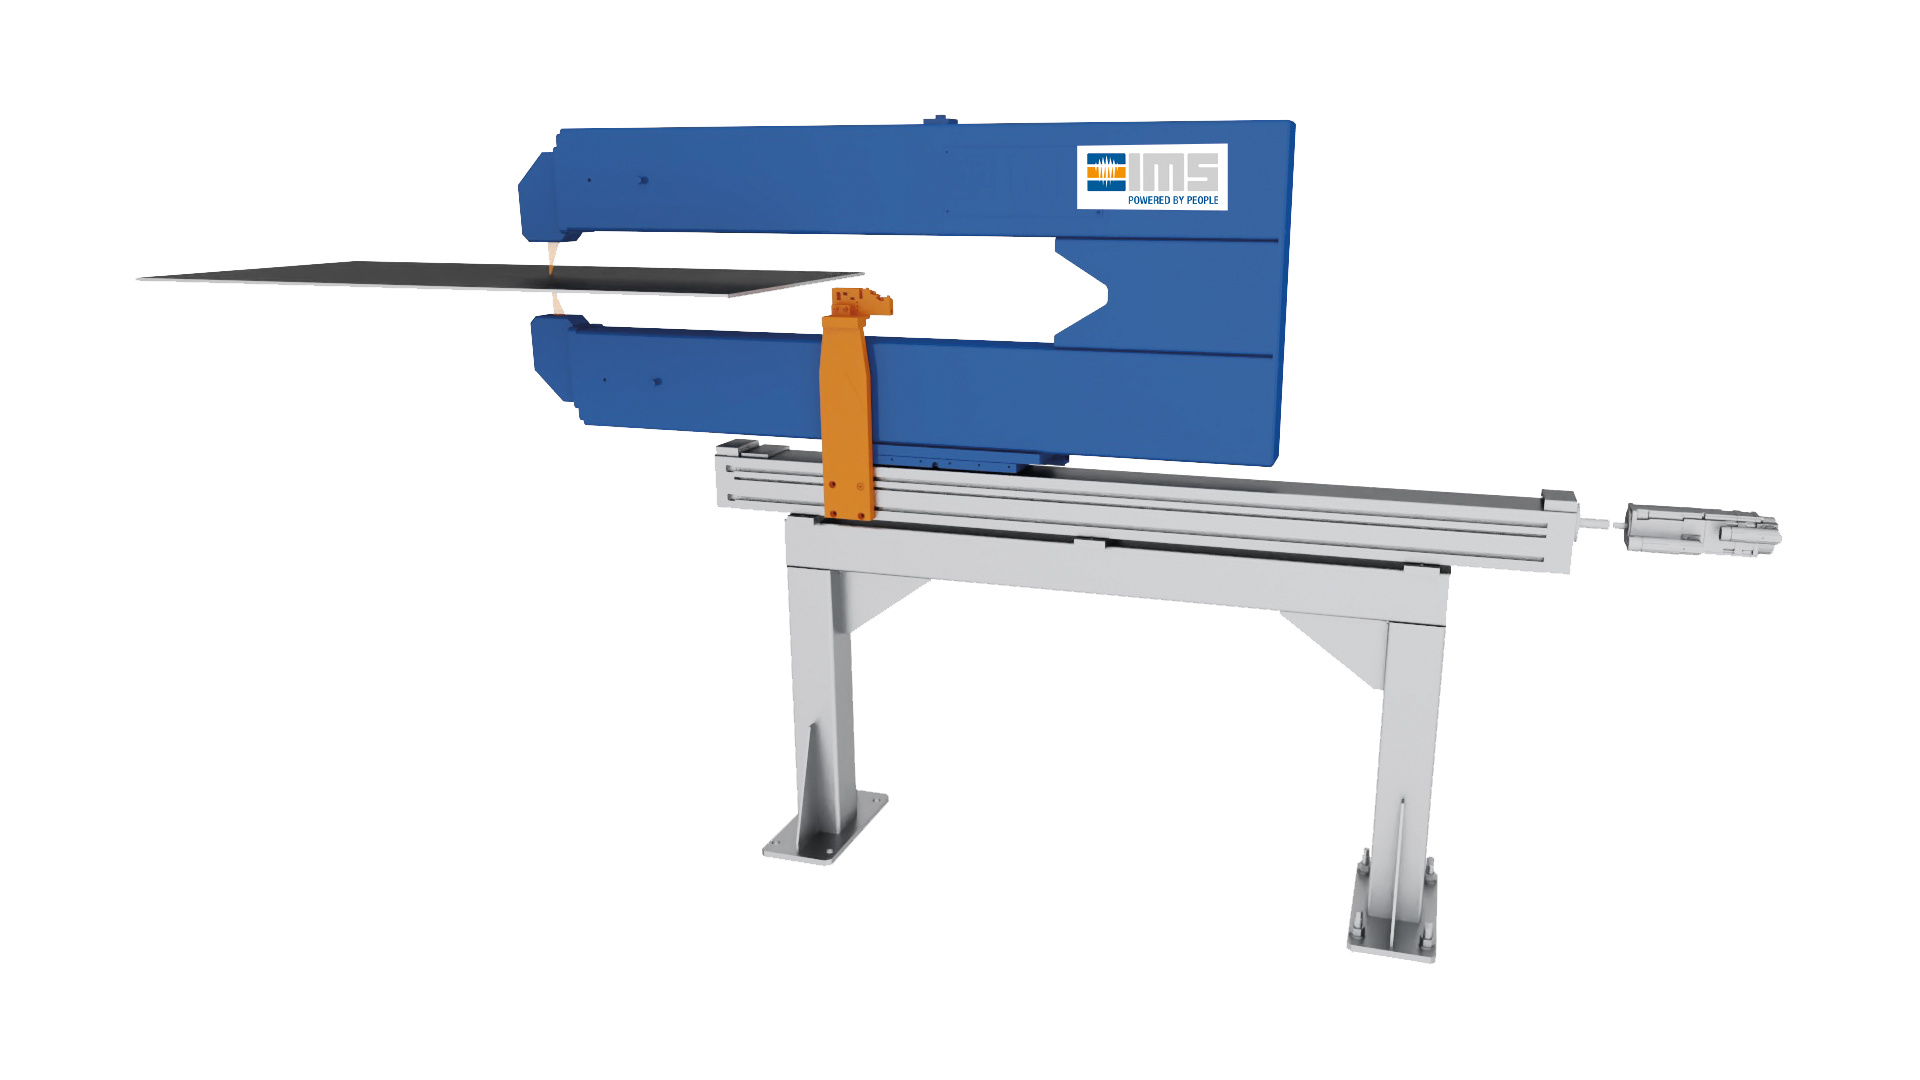
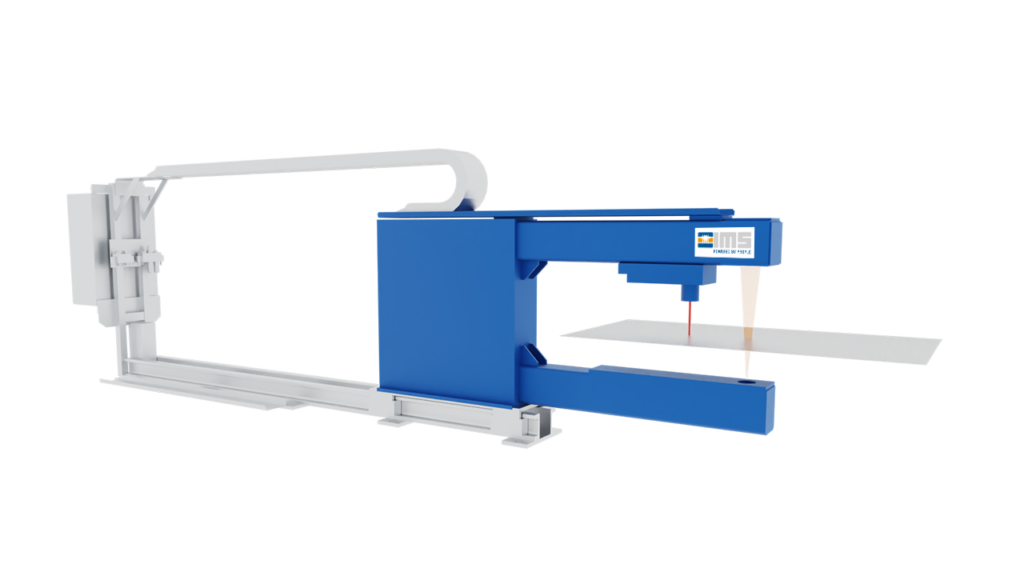
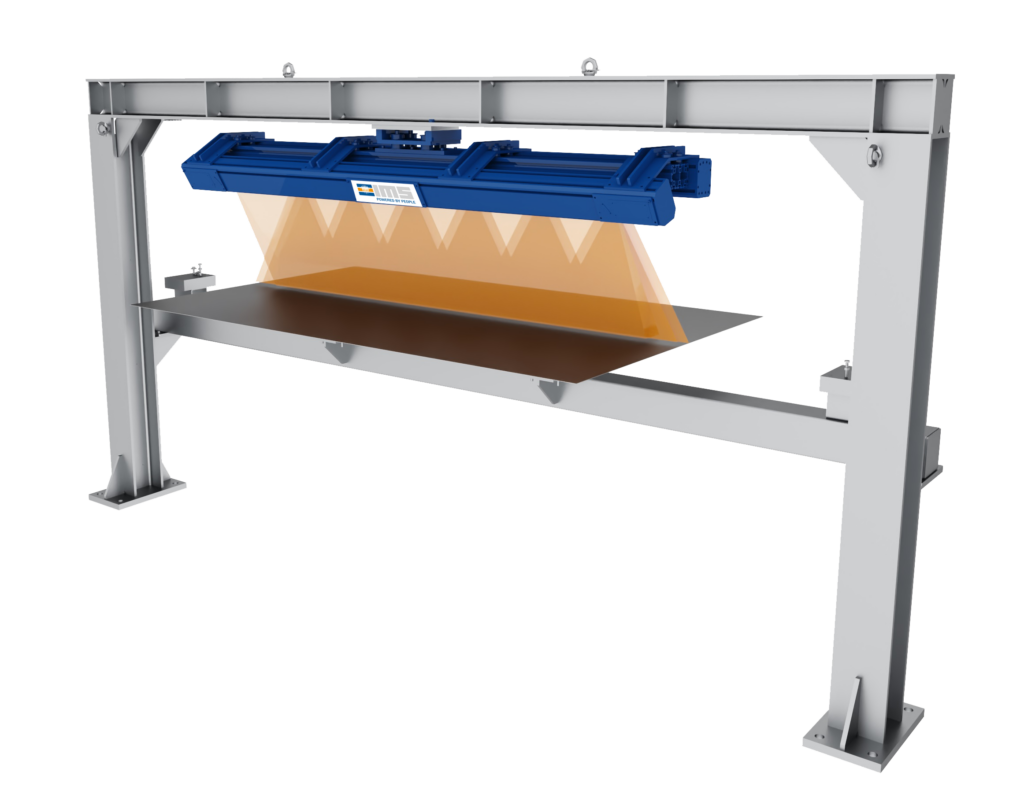
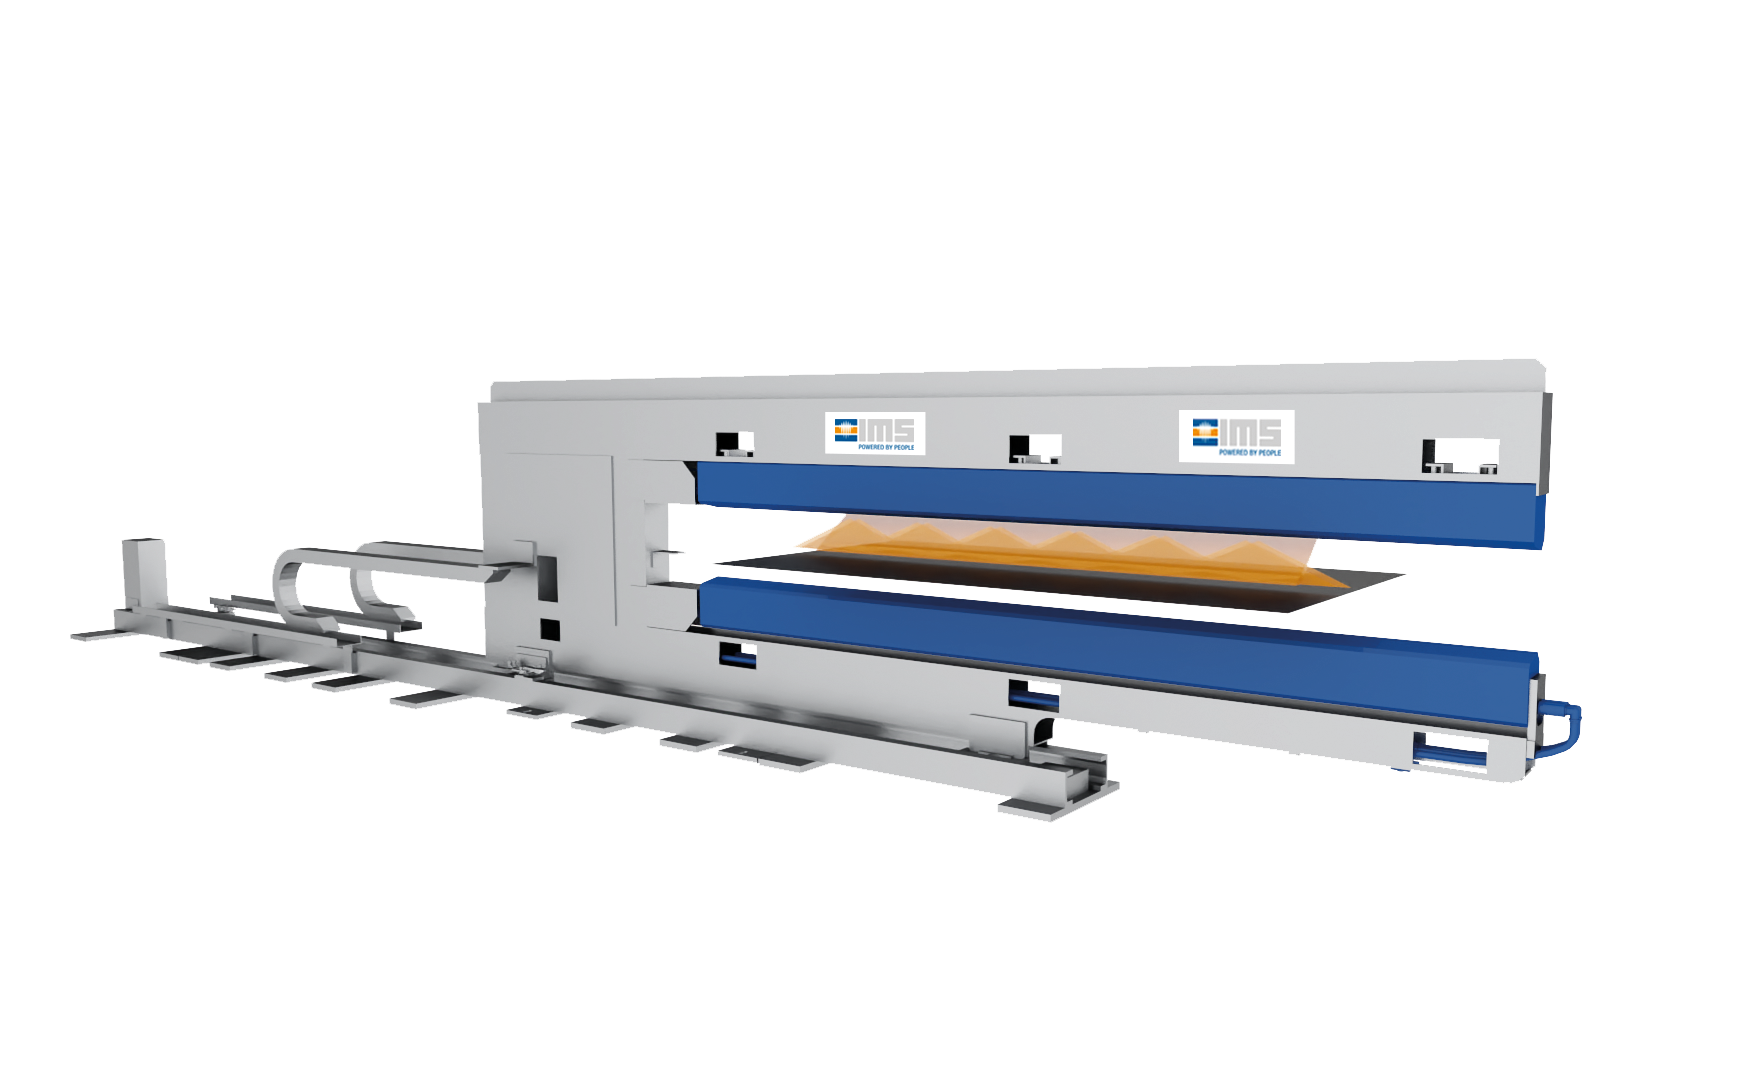
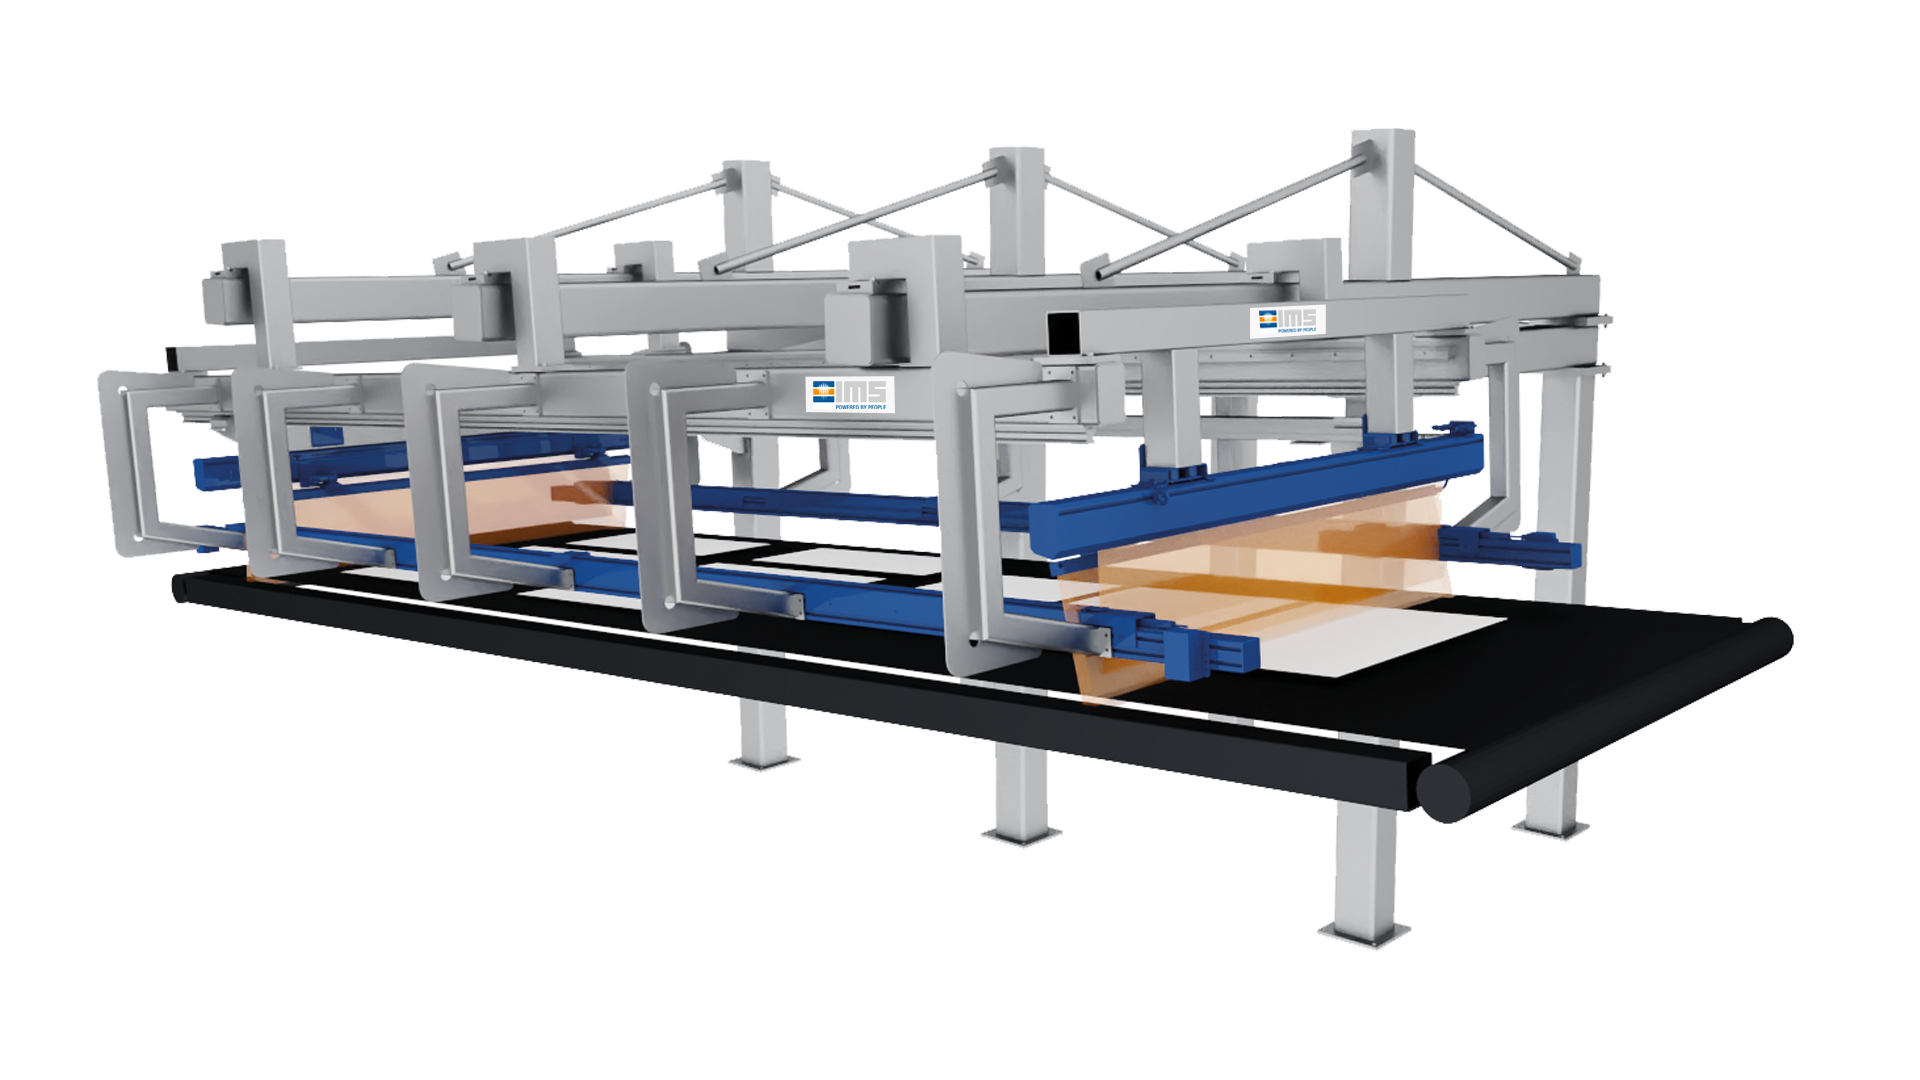
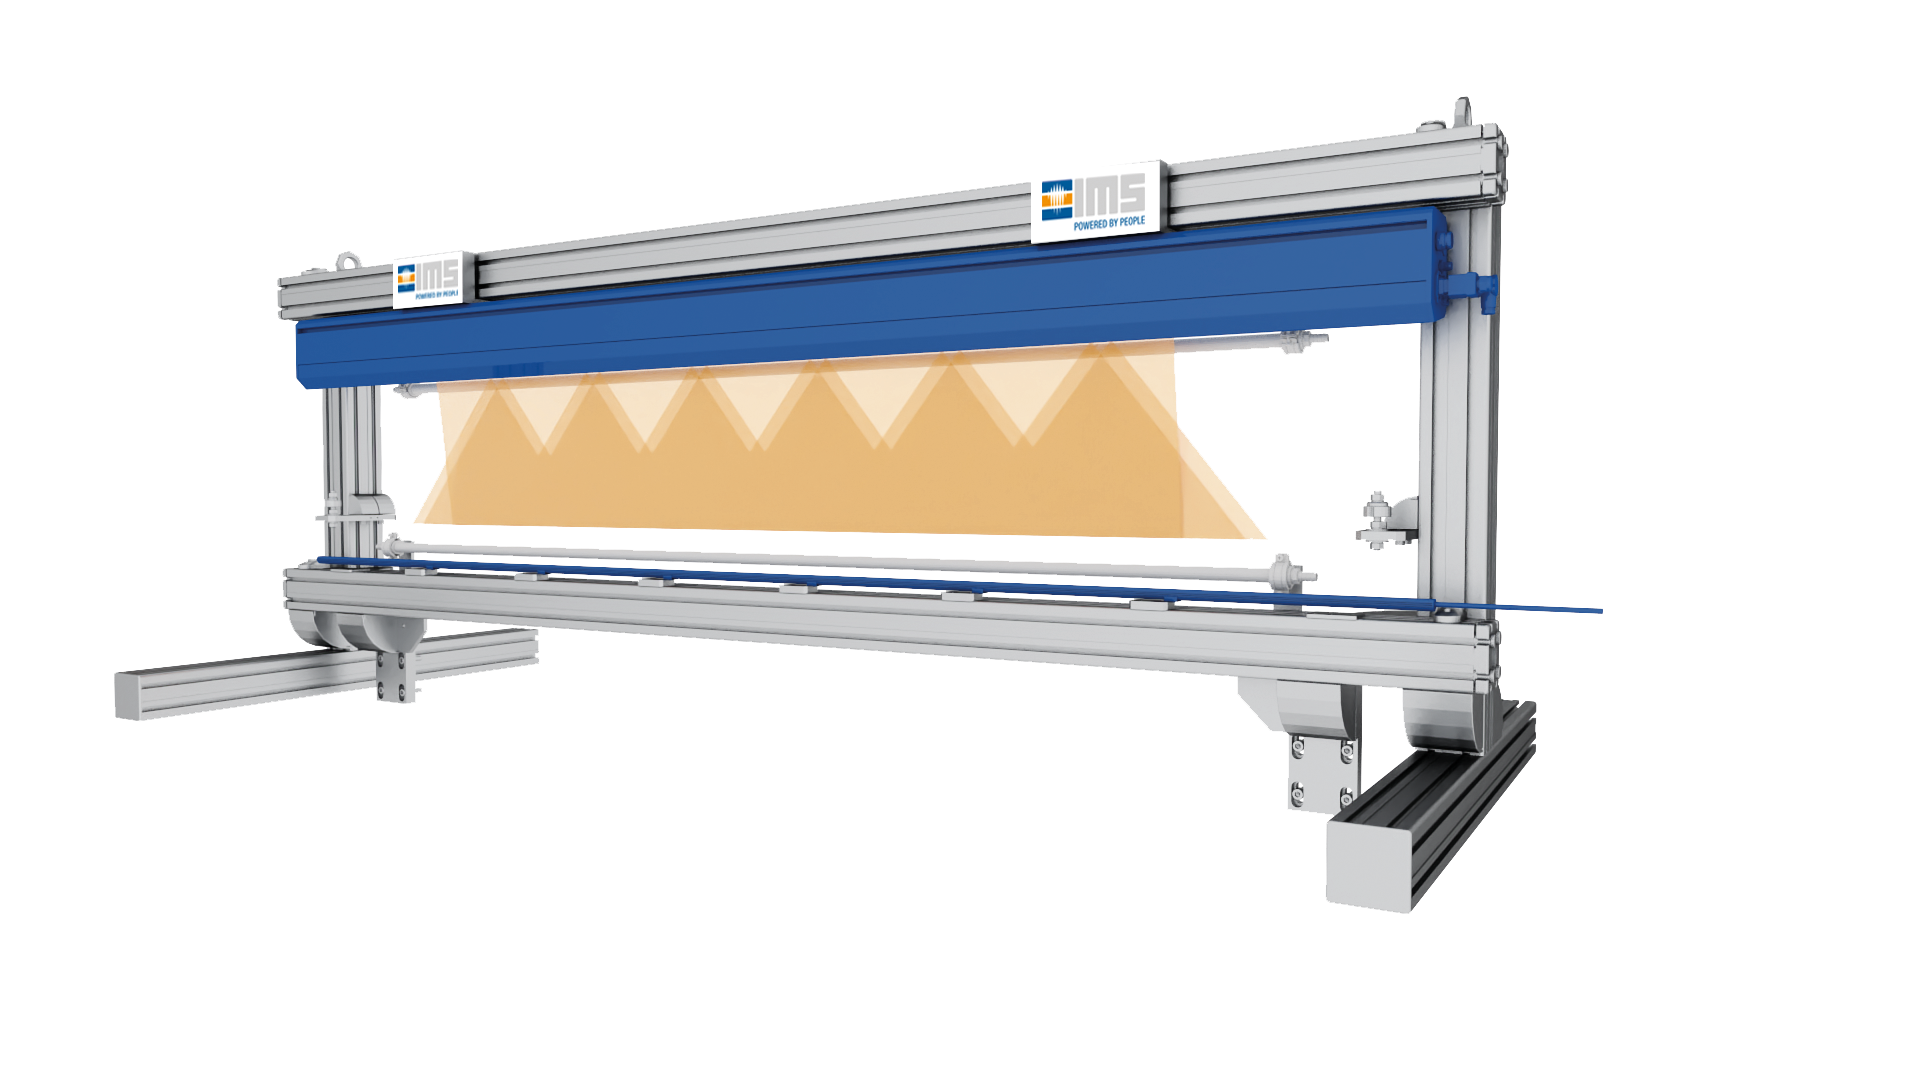
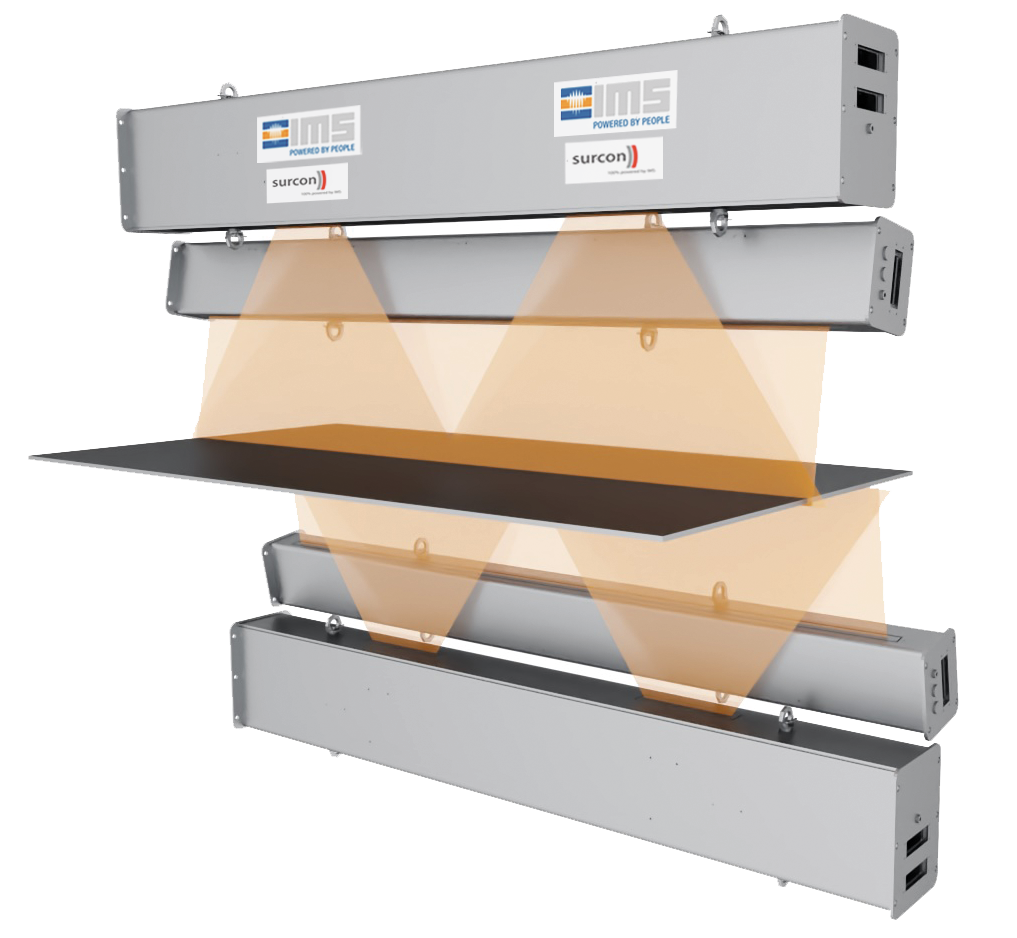
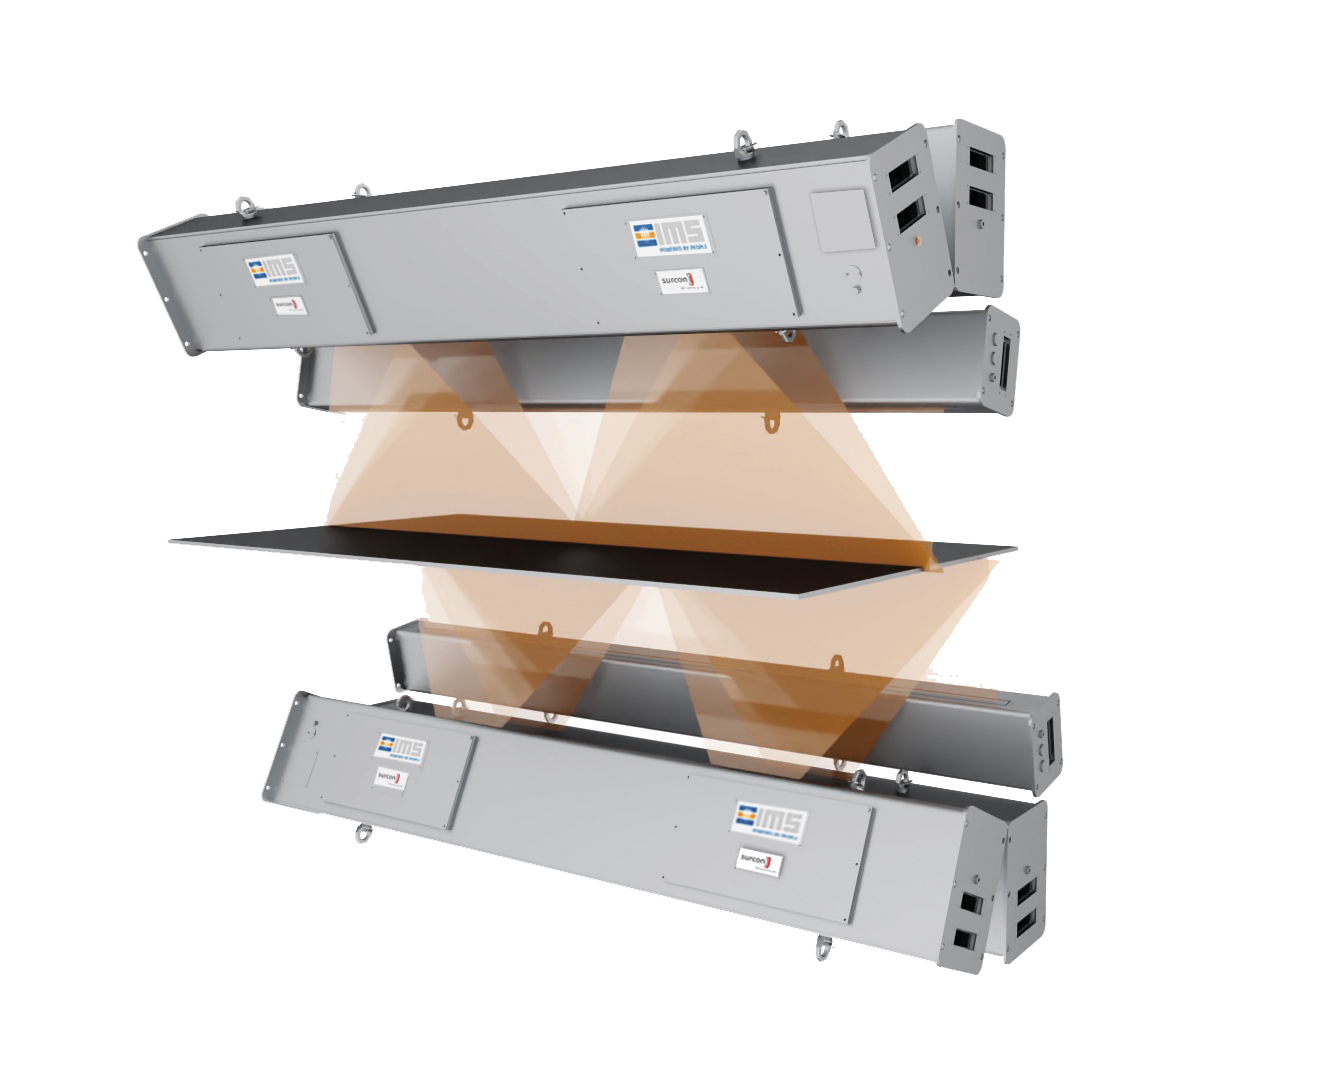
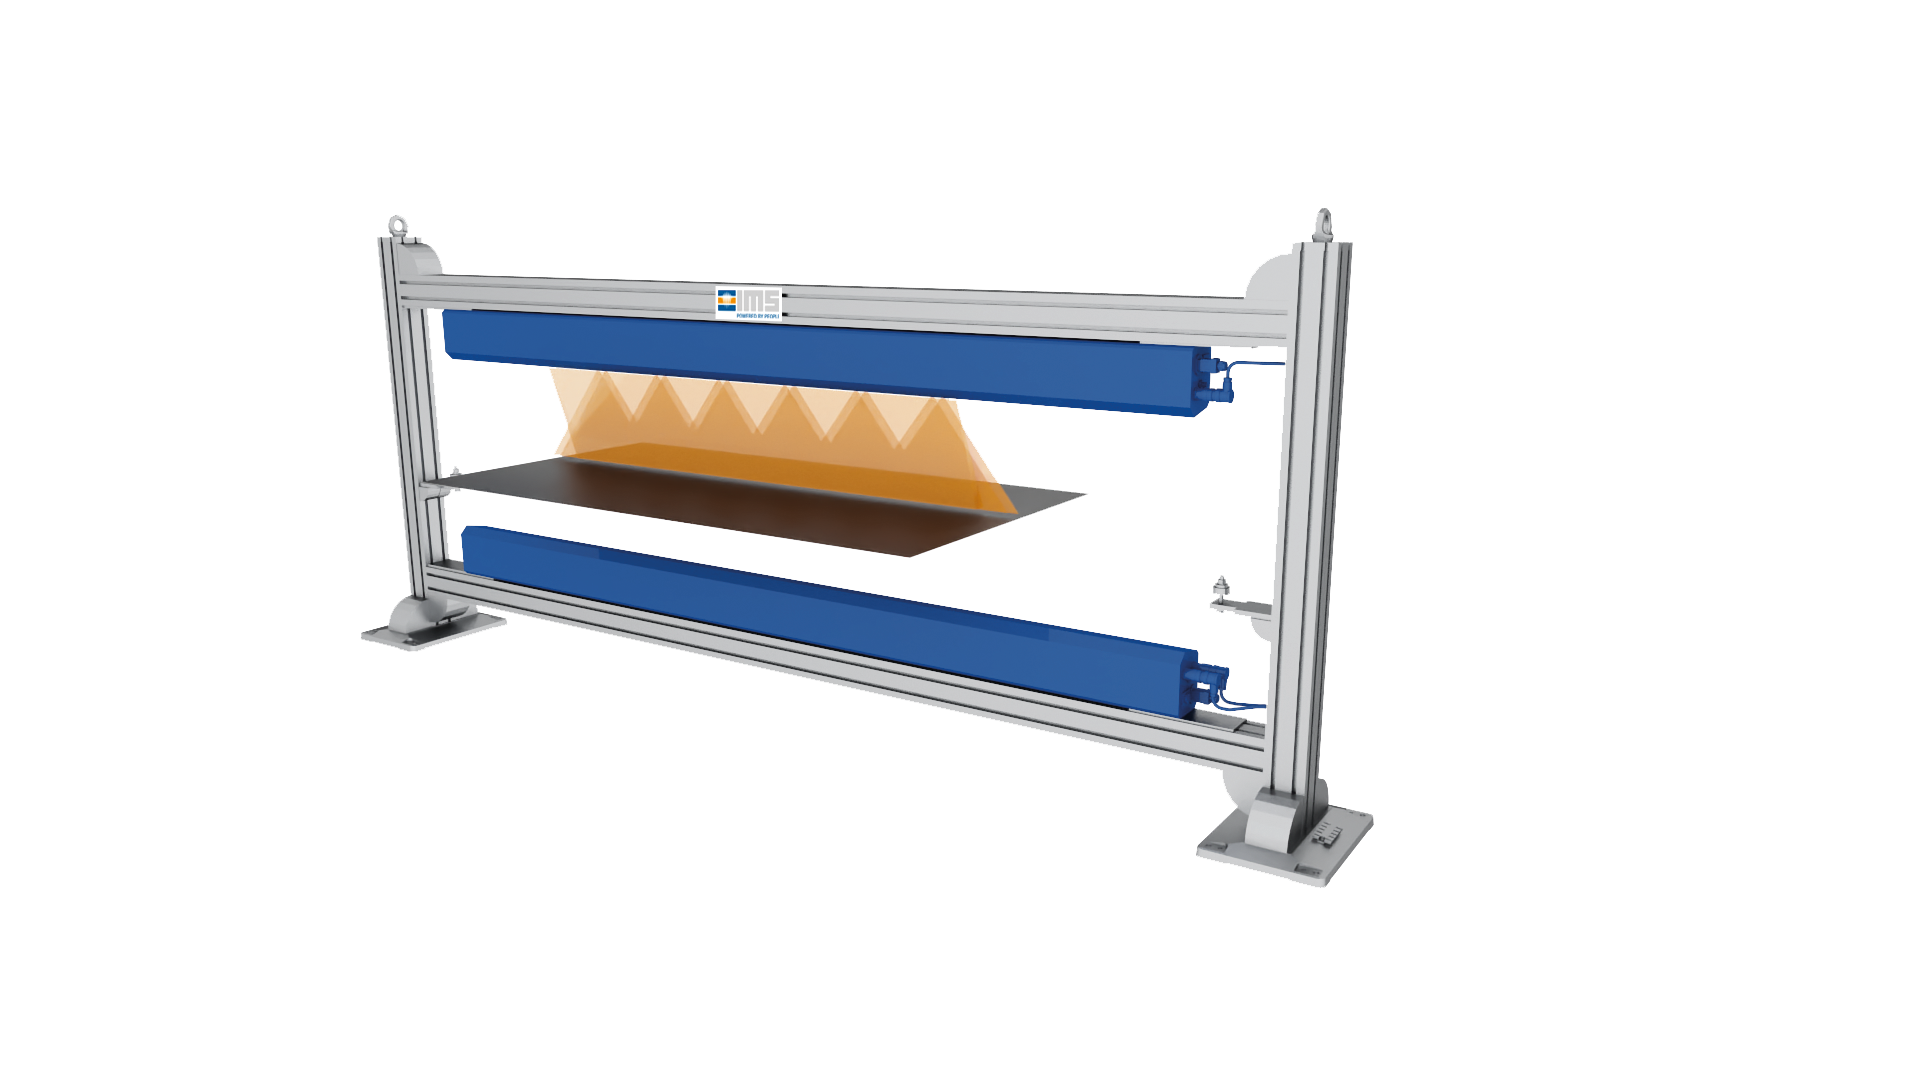
The non-contact CCS width, hole, edge crack detection system is optimally suited for flexible use in many production lines.
From rolling to process and finishing lines, width, holes and edge cracks are detected reliably everywhere.
The measurement beams can be mounted easily on
existing plant components or integrated into the line with the help of customised frames.
With an optional software add-on, the system can also be extended to include edge crack and/or hole detection. The exact position of the defects is detected reliably both along the length and across the width of the material.
strip width
strip position
centre shift
optional:
– edge crack detection
– hole detection
Special Features
- reliable IMS hardware ensures long-lasting and low-maintenance operation in a compact and lightweight design
- CCS uses the stereoscopic effect to compensate for changes in position
- intelligent light source with intensity control
- automatic dirt detection and warning
- stationary CCS measuring devices require no maintenance
- optical filters eliminate the influence of extraneous light almost completely
- online visualisation of the results as well as reporting via a user-defined results interface
-
optional:
- blow-off or air wipe system
- mechanical protection for rough environmental conditions
- DAkkS-certified calibration standard
- storage of defects as a photo

…to the verifiability of flatness previously required, your best customer suddenly also needs the exact geometry of the plates to be delivered. Do you now lose the order or is there a possibility to retrofit a measuring system despite the cramped conditions? What advantage does this investment bring me, apart from the fact that it satisfies just this one customer?
Not only in slitting and cut-to-length lines, but also in pickling lines, recoiling lines and inspection lines, it is necessary to meet growing customer demands on product quality. These are challenges that I am confronted with every day and for which we at IMS have developed a product portfolio specially tailored to metal service centres.
We set new standards with our systems and reach new dimensions with our efficient, digital and durable measurement technology. The systems are designed precisely for your application, and with our Life Cycle Partnership you are always on the safe side.”
Reserve your personal consultation appointment now!
Choose between a scheduled call back, a Teams video conference or simply use our contact form.
We look forward to hearing from you!

CCS
Width, Hole, Edge crack Detection System
Width, Hole, Edge crack Detection System
Technical Information
Material data
Typical thickness range:
up to 6 mm, but not limited to
Max. speed:
up to 1,000 m/min, but not limited to
Width (mm):
up to 2,400 mm, but not limited to
Length (m):
not limited / continuous inspection
Measurement system data
Gauge type:
fixed mounted frame or moveable C-frame
Radiation source:
intelligent LED backlight
Camera type:
CCS (16 cameras per cluster)
Typical working distance camera:
350 mm to 800 mm
Typical working distance backlight:
150 mm to 300 mm
Measuring dynamics
Sampling rate:
up to 28 kHz
Measuring accuracy for width measuring
Width accuracy:
± 0,1 mm (2 σ)*
* The measuring accuracy depends on the distance between the material and camera unit. The above specifications are valid at a maximum distance of up to 400 mm between the material and camera unit.
Measuring accuracy for hole & edge crack detection
Size of hole:
≥ 0.2 mm x 0.2 mm *
Size of edge crack:
≥ 1.0 mm x 1.0 mm
* The detectable hole size depends on the thickness and speed of the material. Exact details are specified on a system basis.
Measure.Inspect.Detect.
Product Catalogue for Metal Service Centres
- Learn more about the product portfolio of our high-precision measuring systems for metal service centres
- Standard systems for measurement and detection of thickness, width, slit strip width, sheet geometry, holes, pinholes, flatness, evenness, edgecracks, surface inspection, strip tension, web tension as well as various special systems
- Special designs possible on customer request
IMS Measuring Systems for Metal Service Centres
XR Traversing Thickness Profile Measuring System
(Metal Service Centres)

