CCS
Sheet Geometry
Measuring System
Sheet Geometry
Measuring System
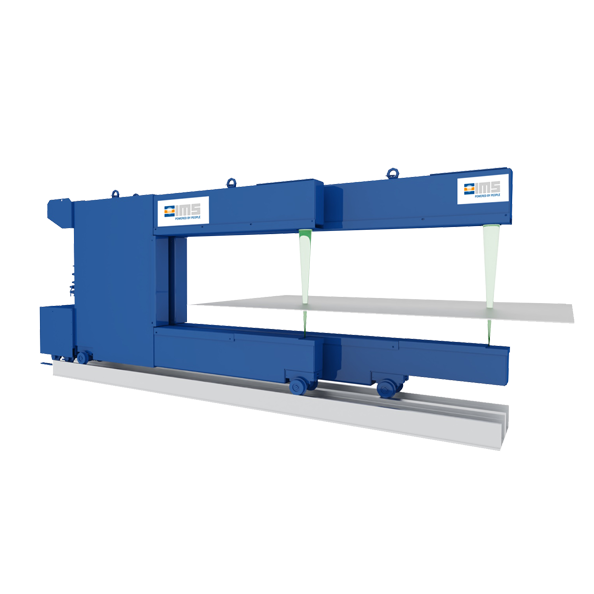
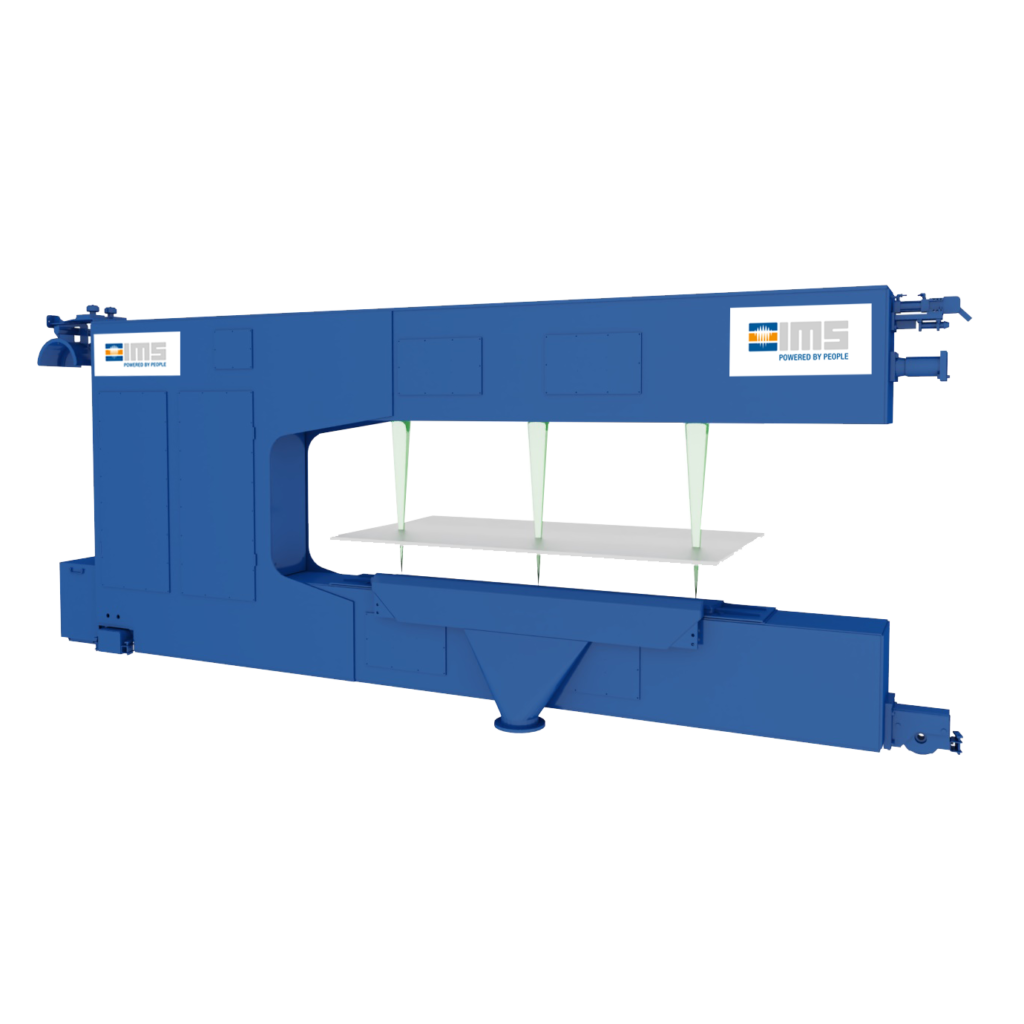
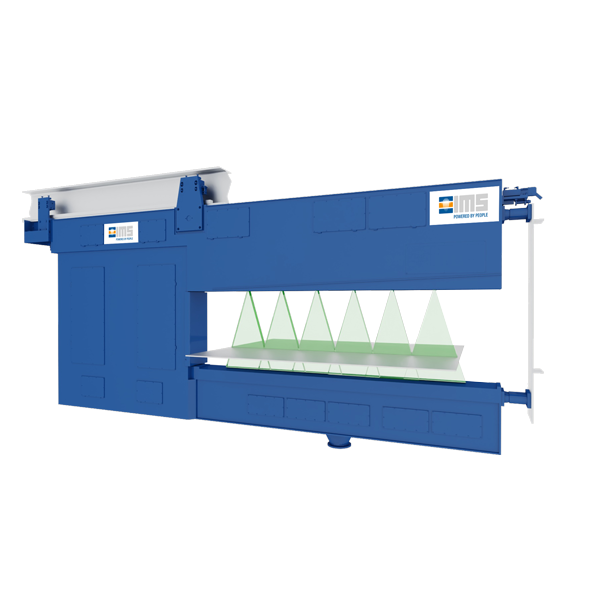
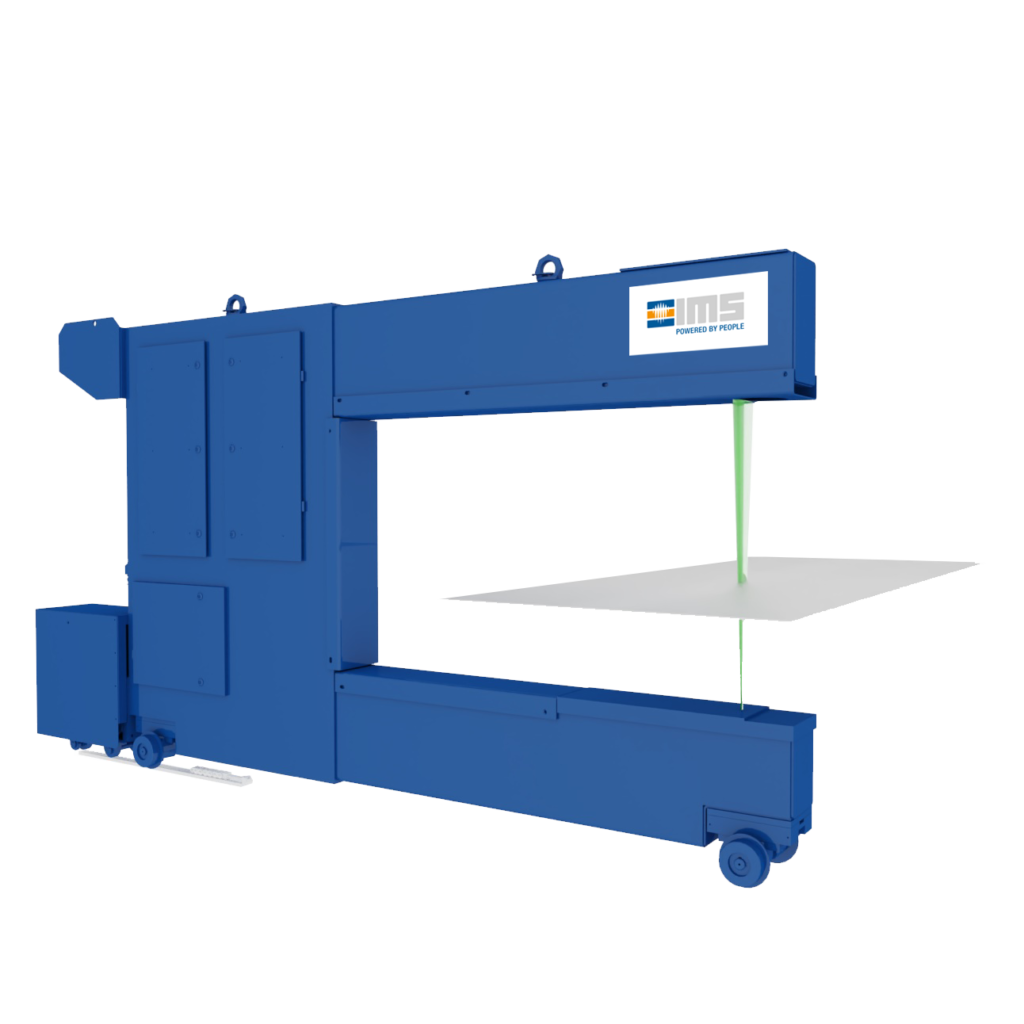
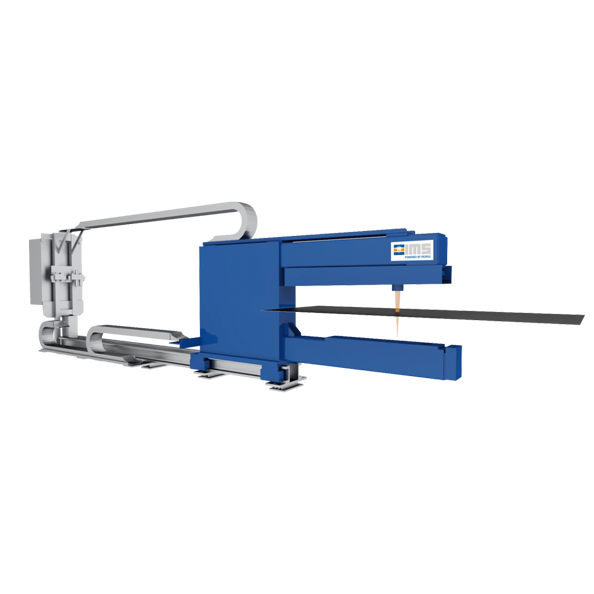
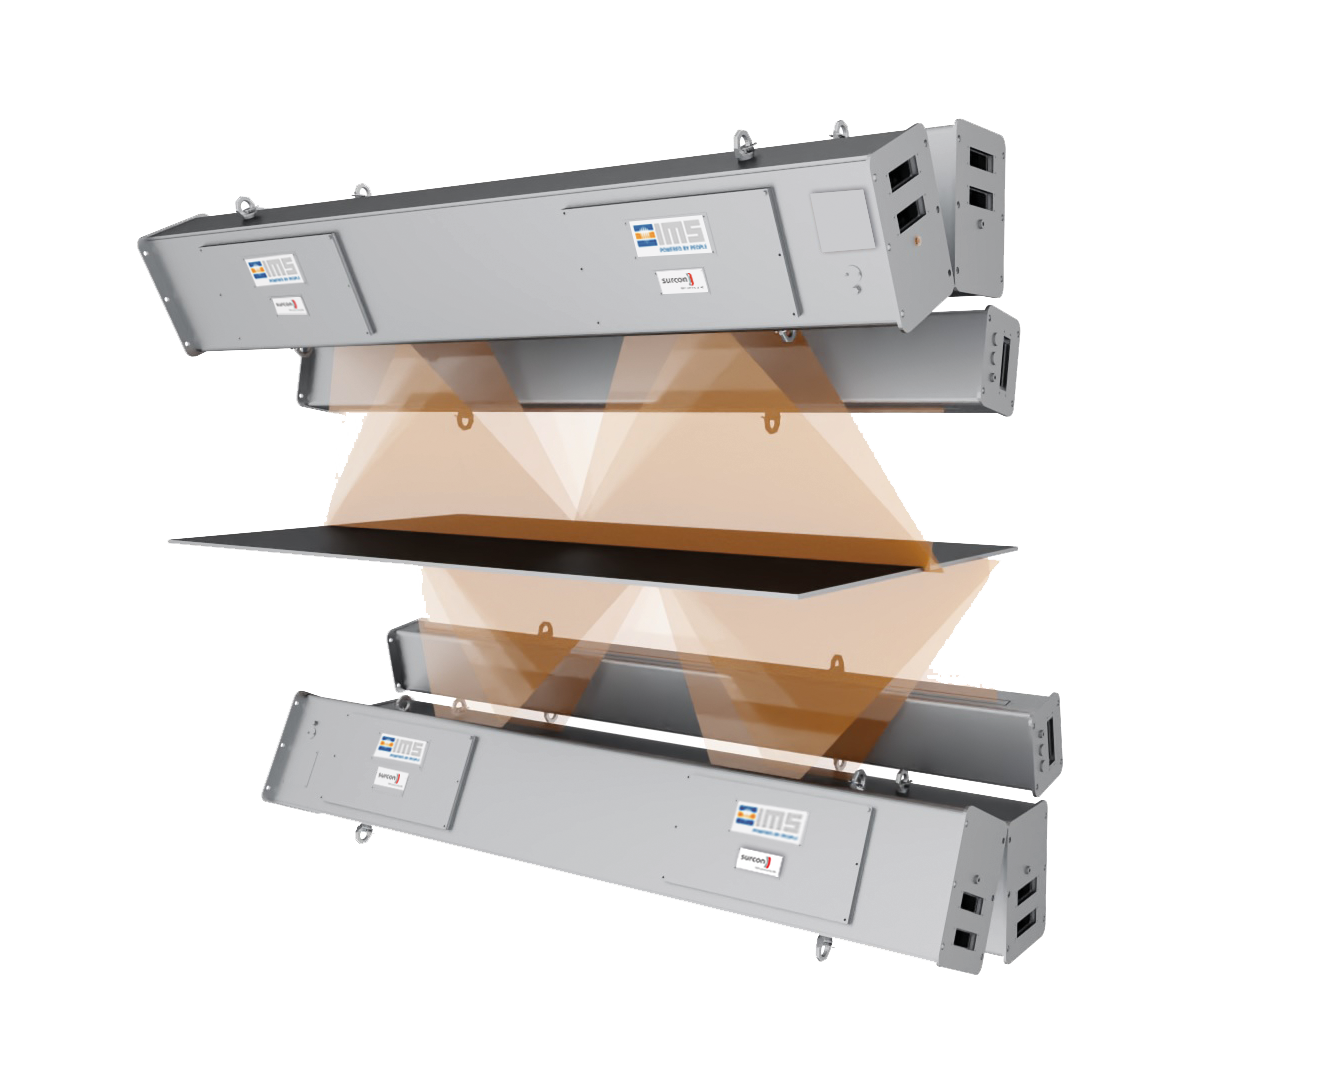
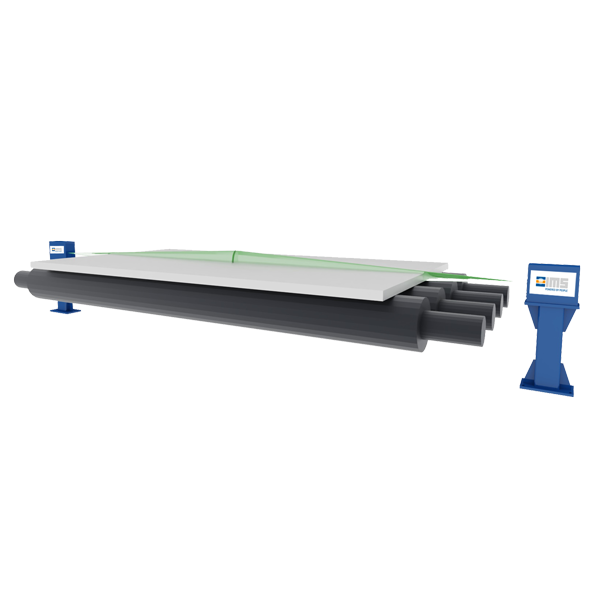
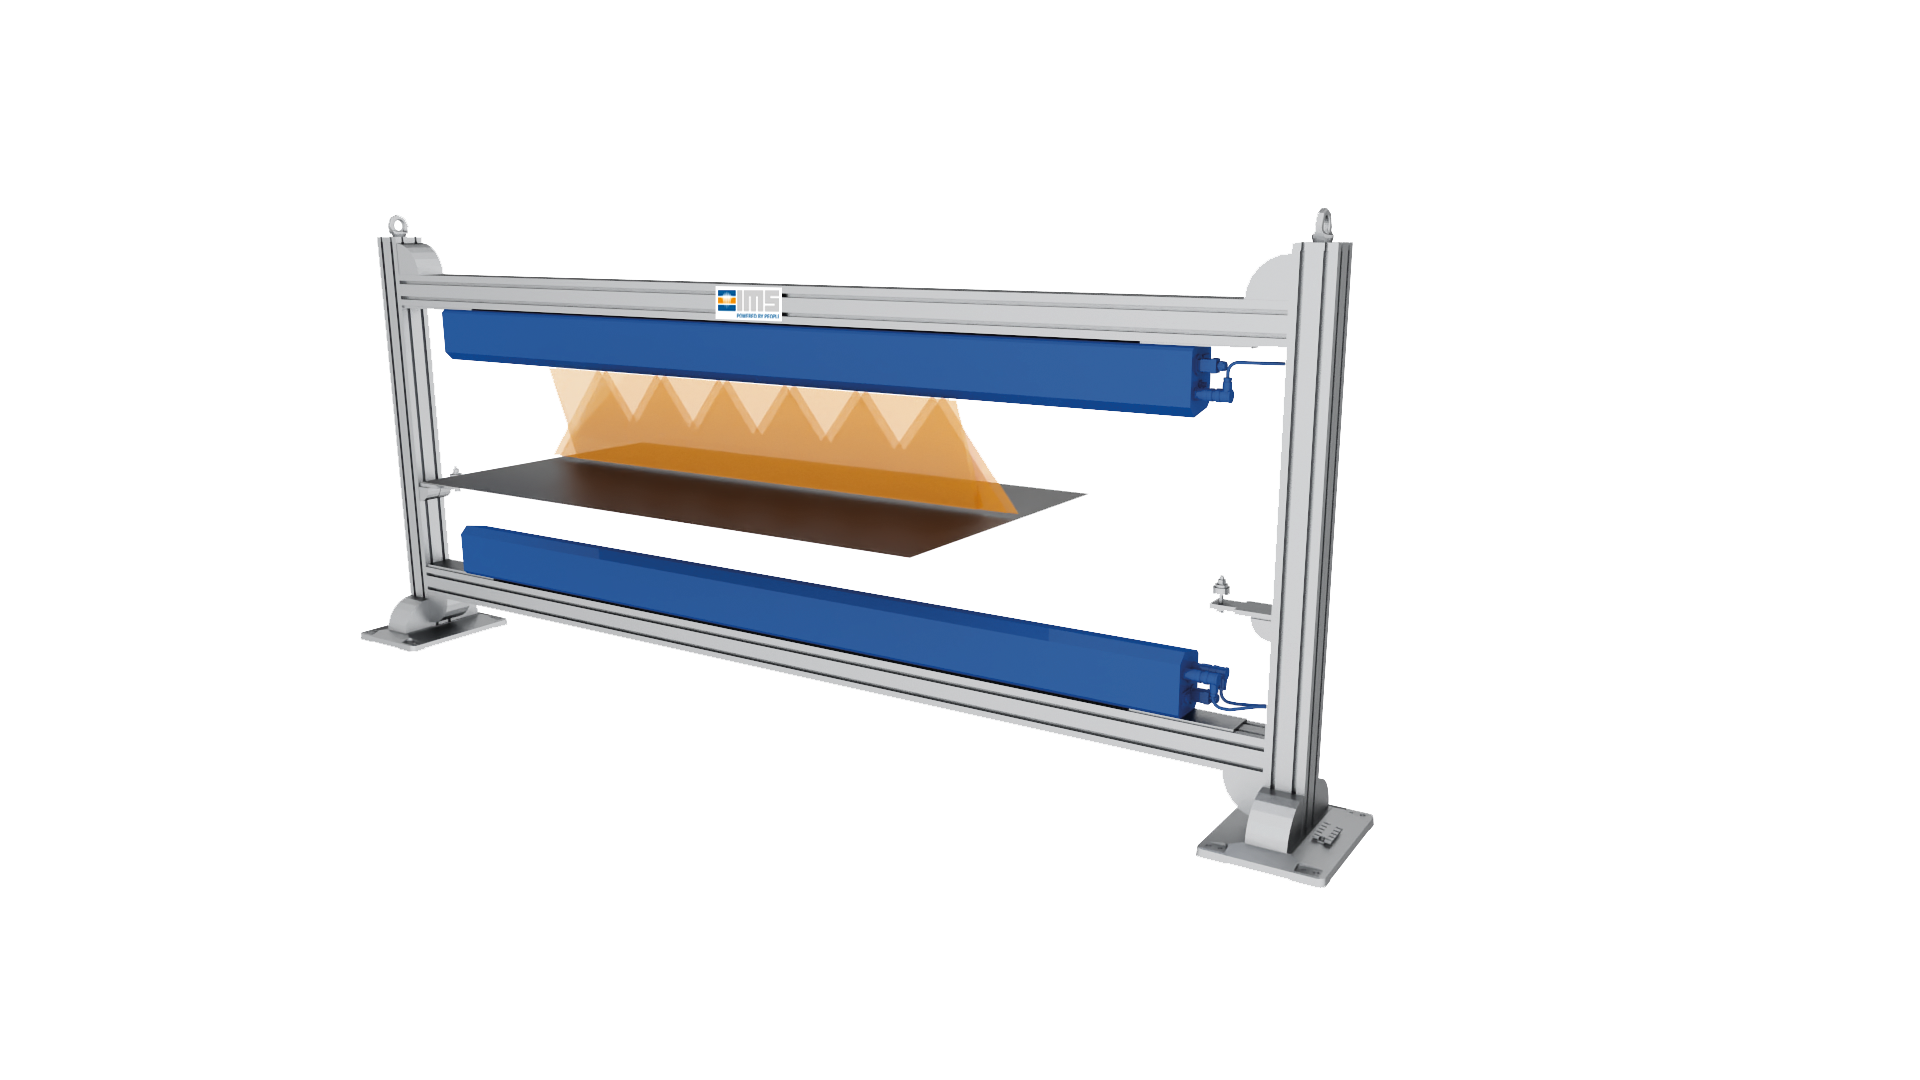
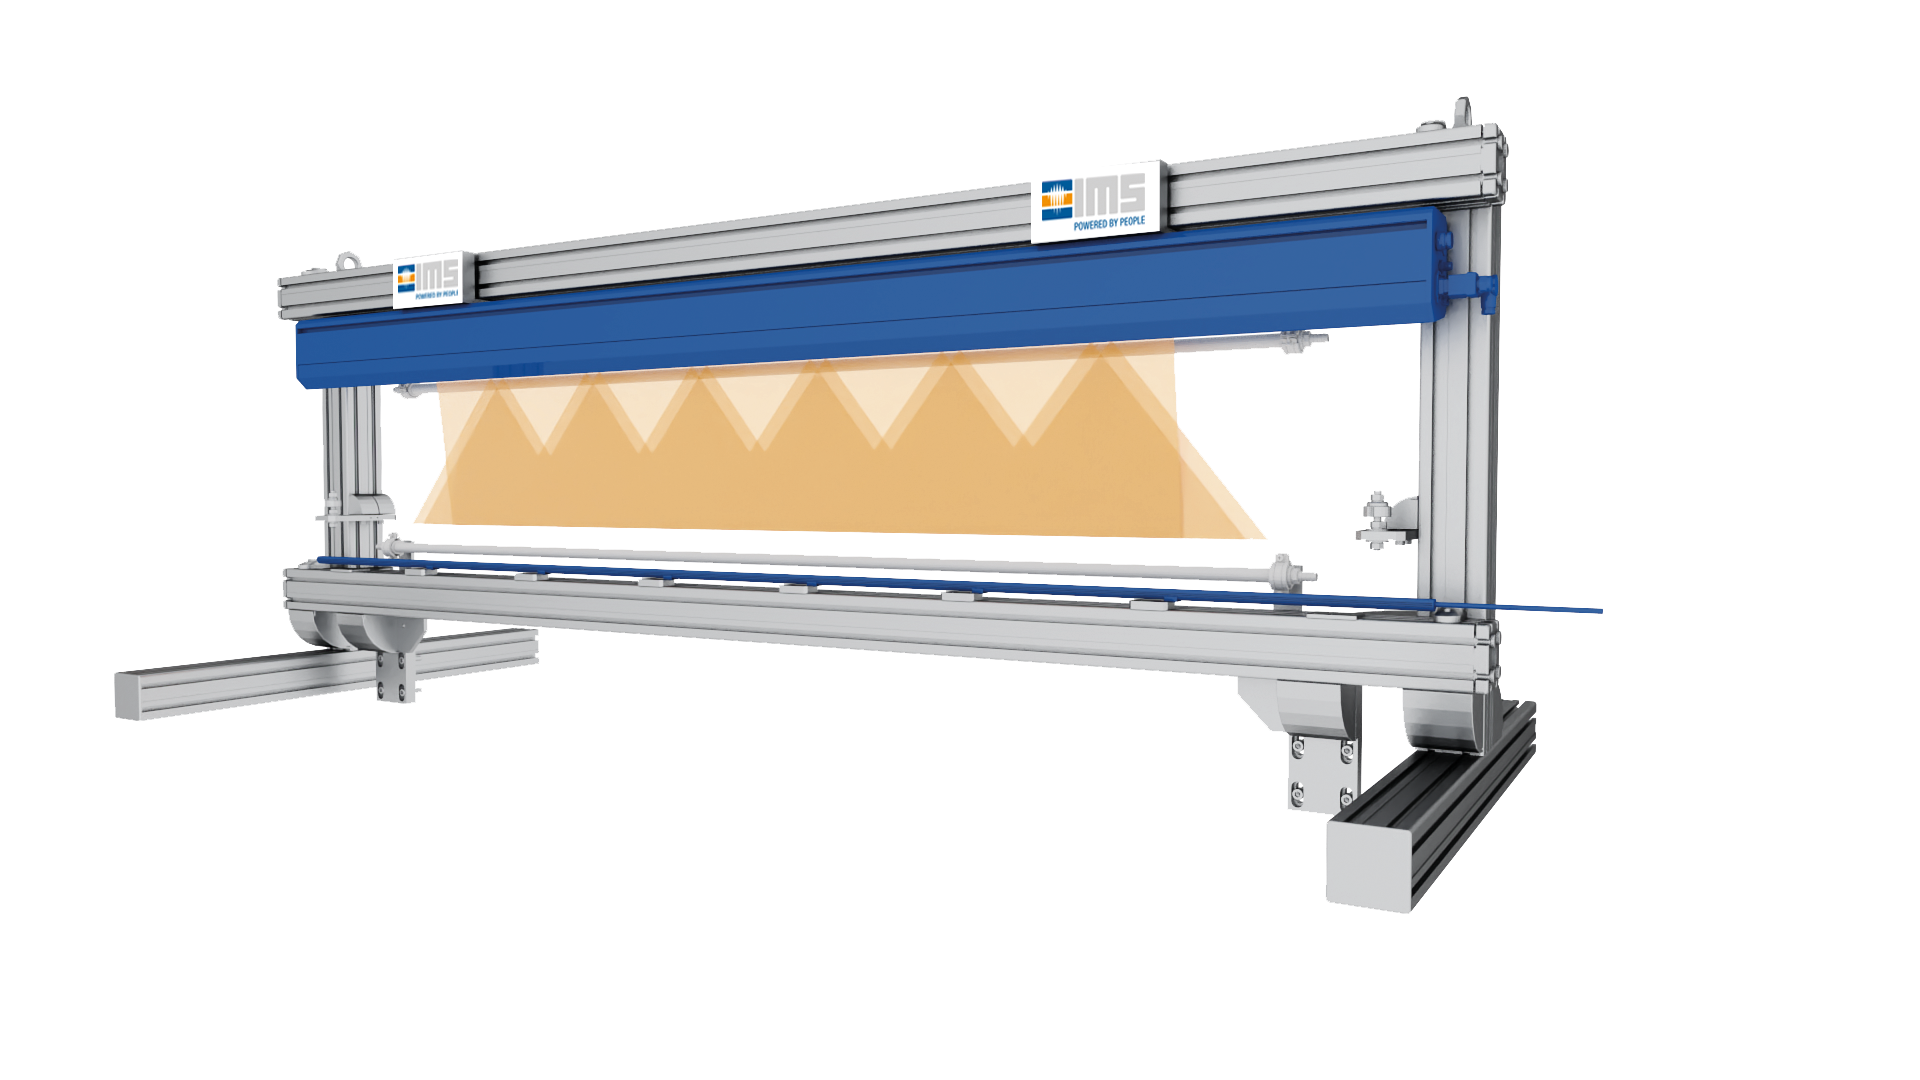
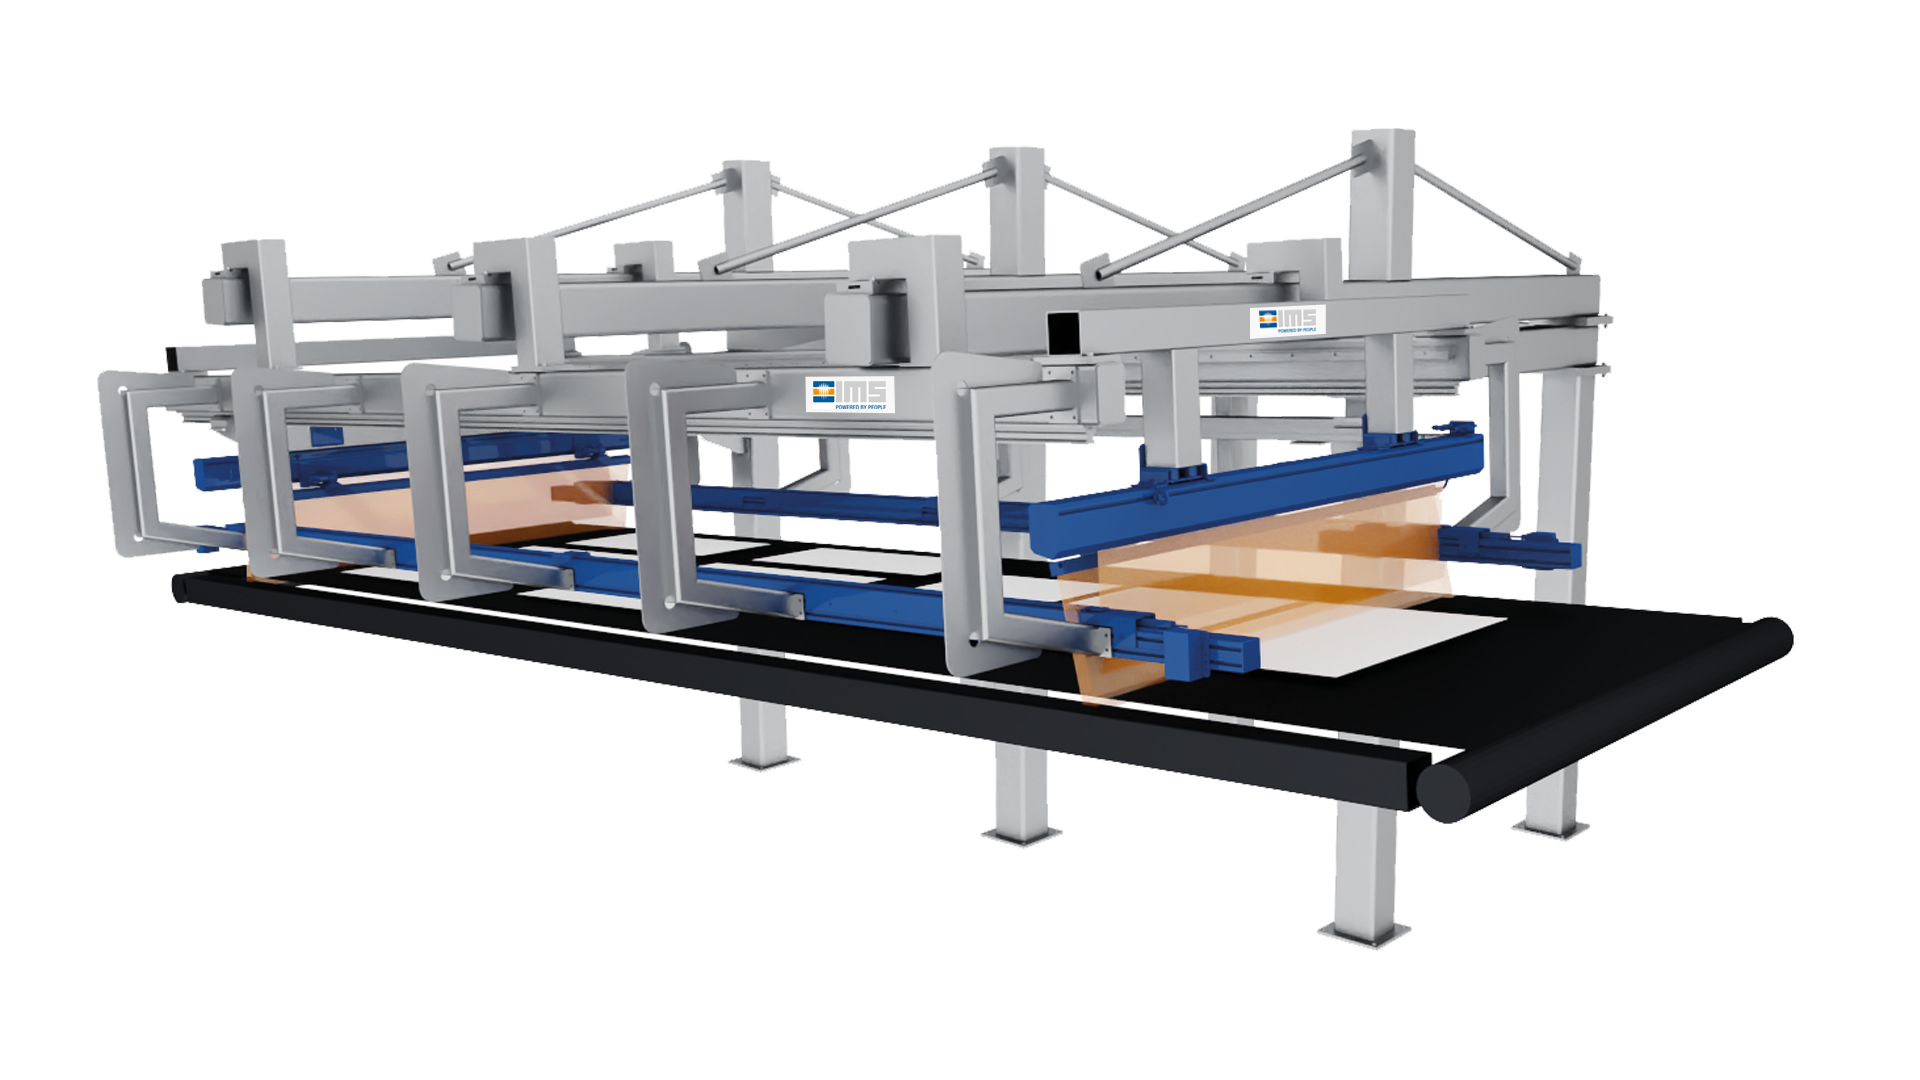
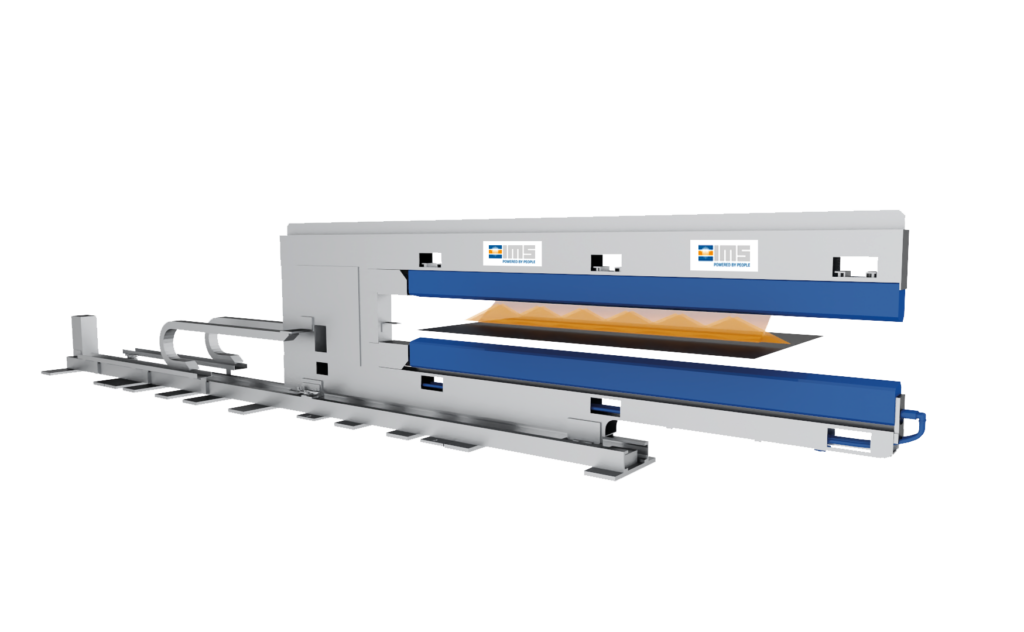
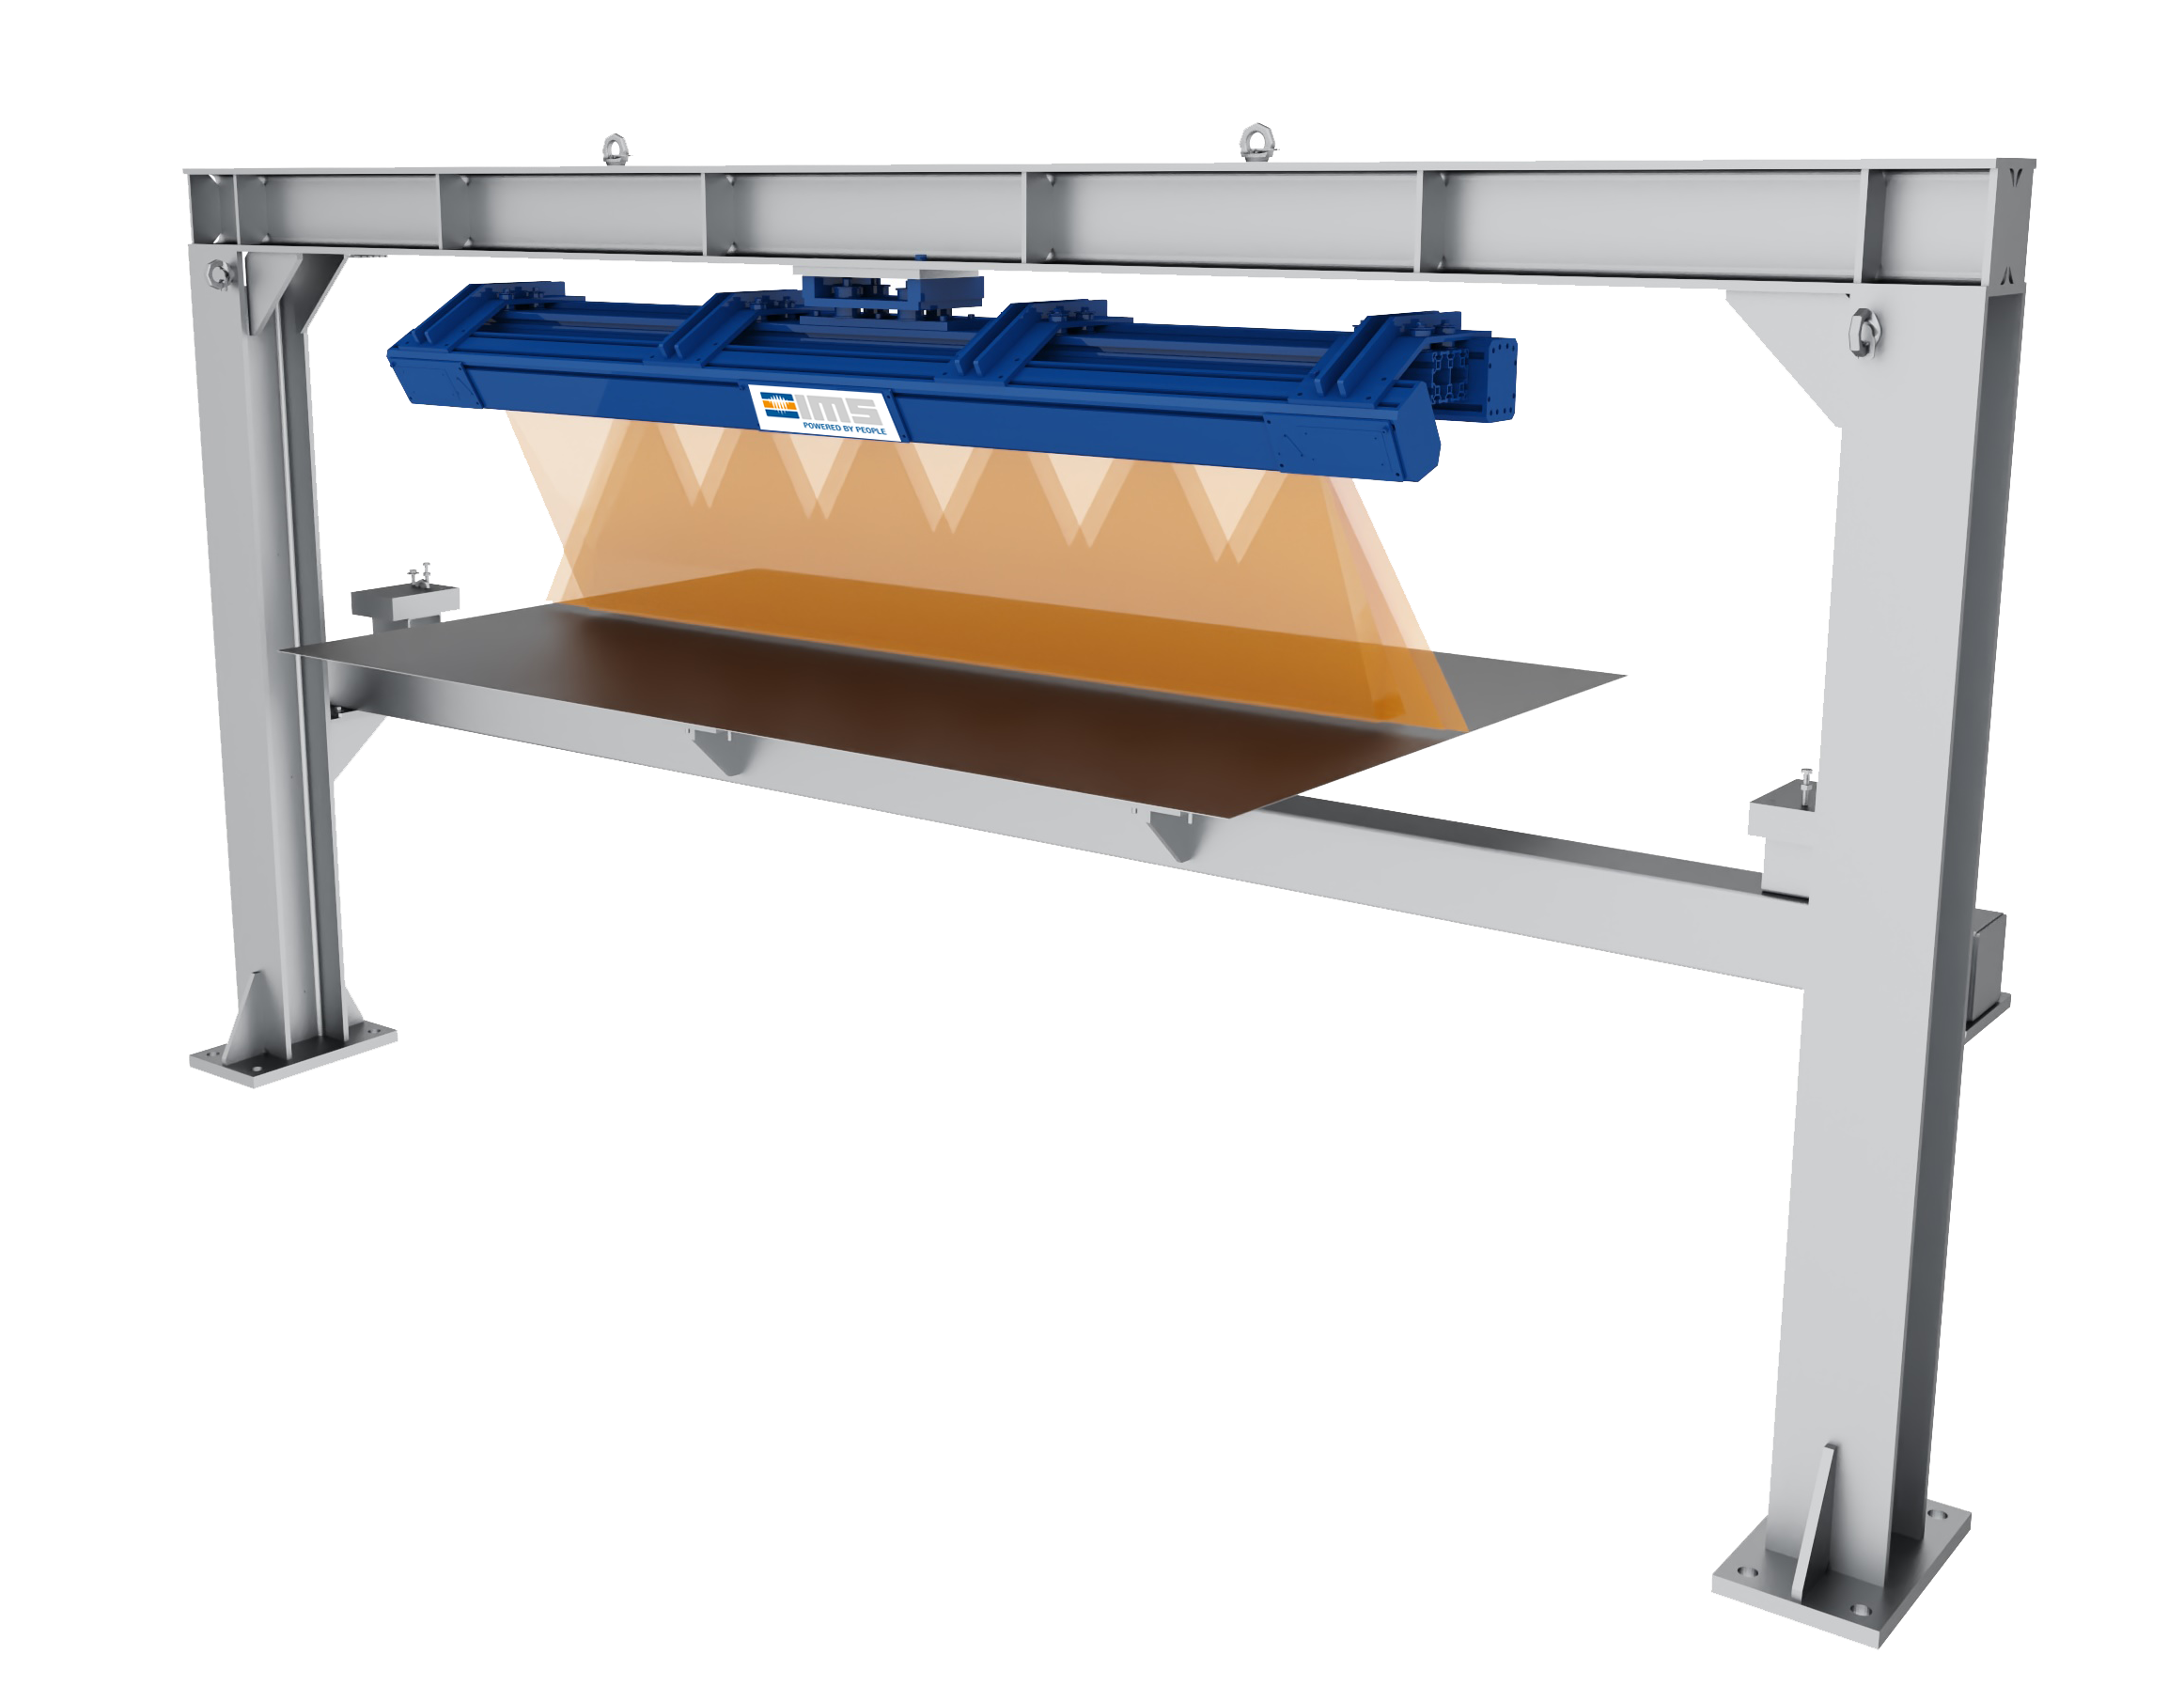
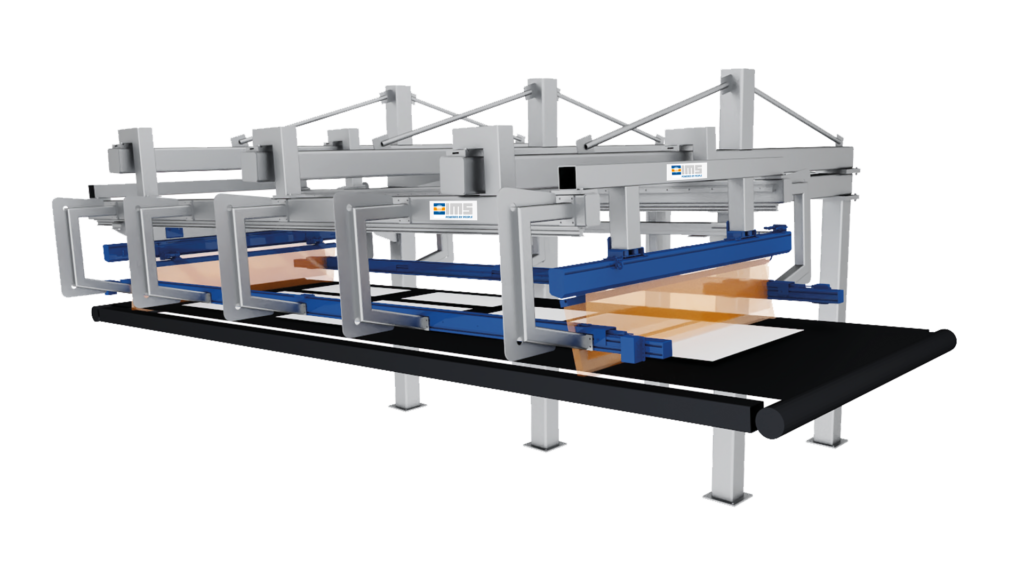
The CCS sheet geometry measuring system is usually installed between the shear and stacking system.
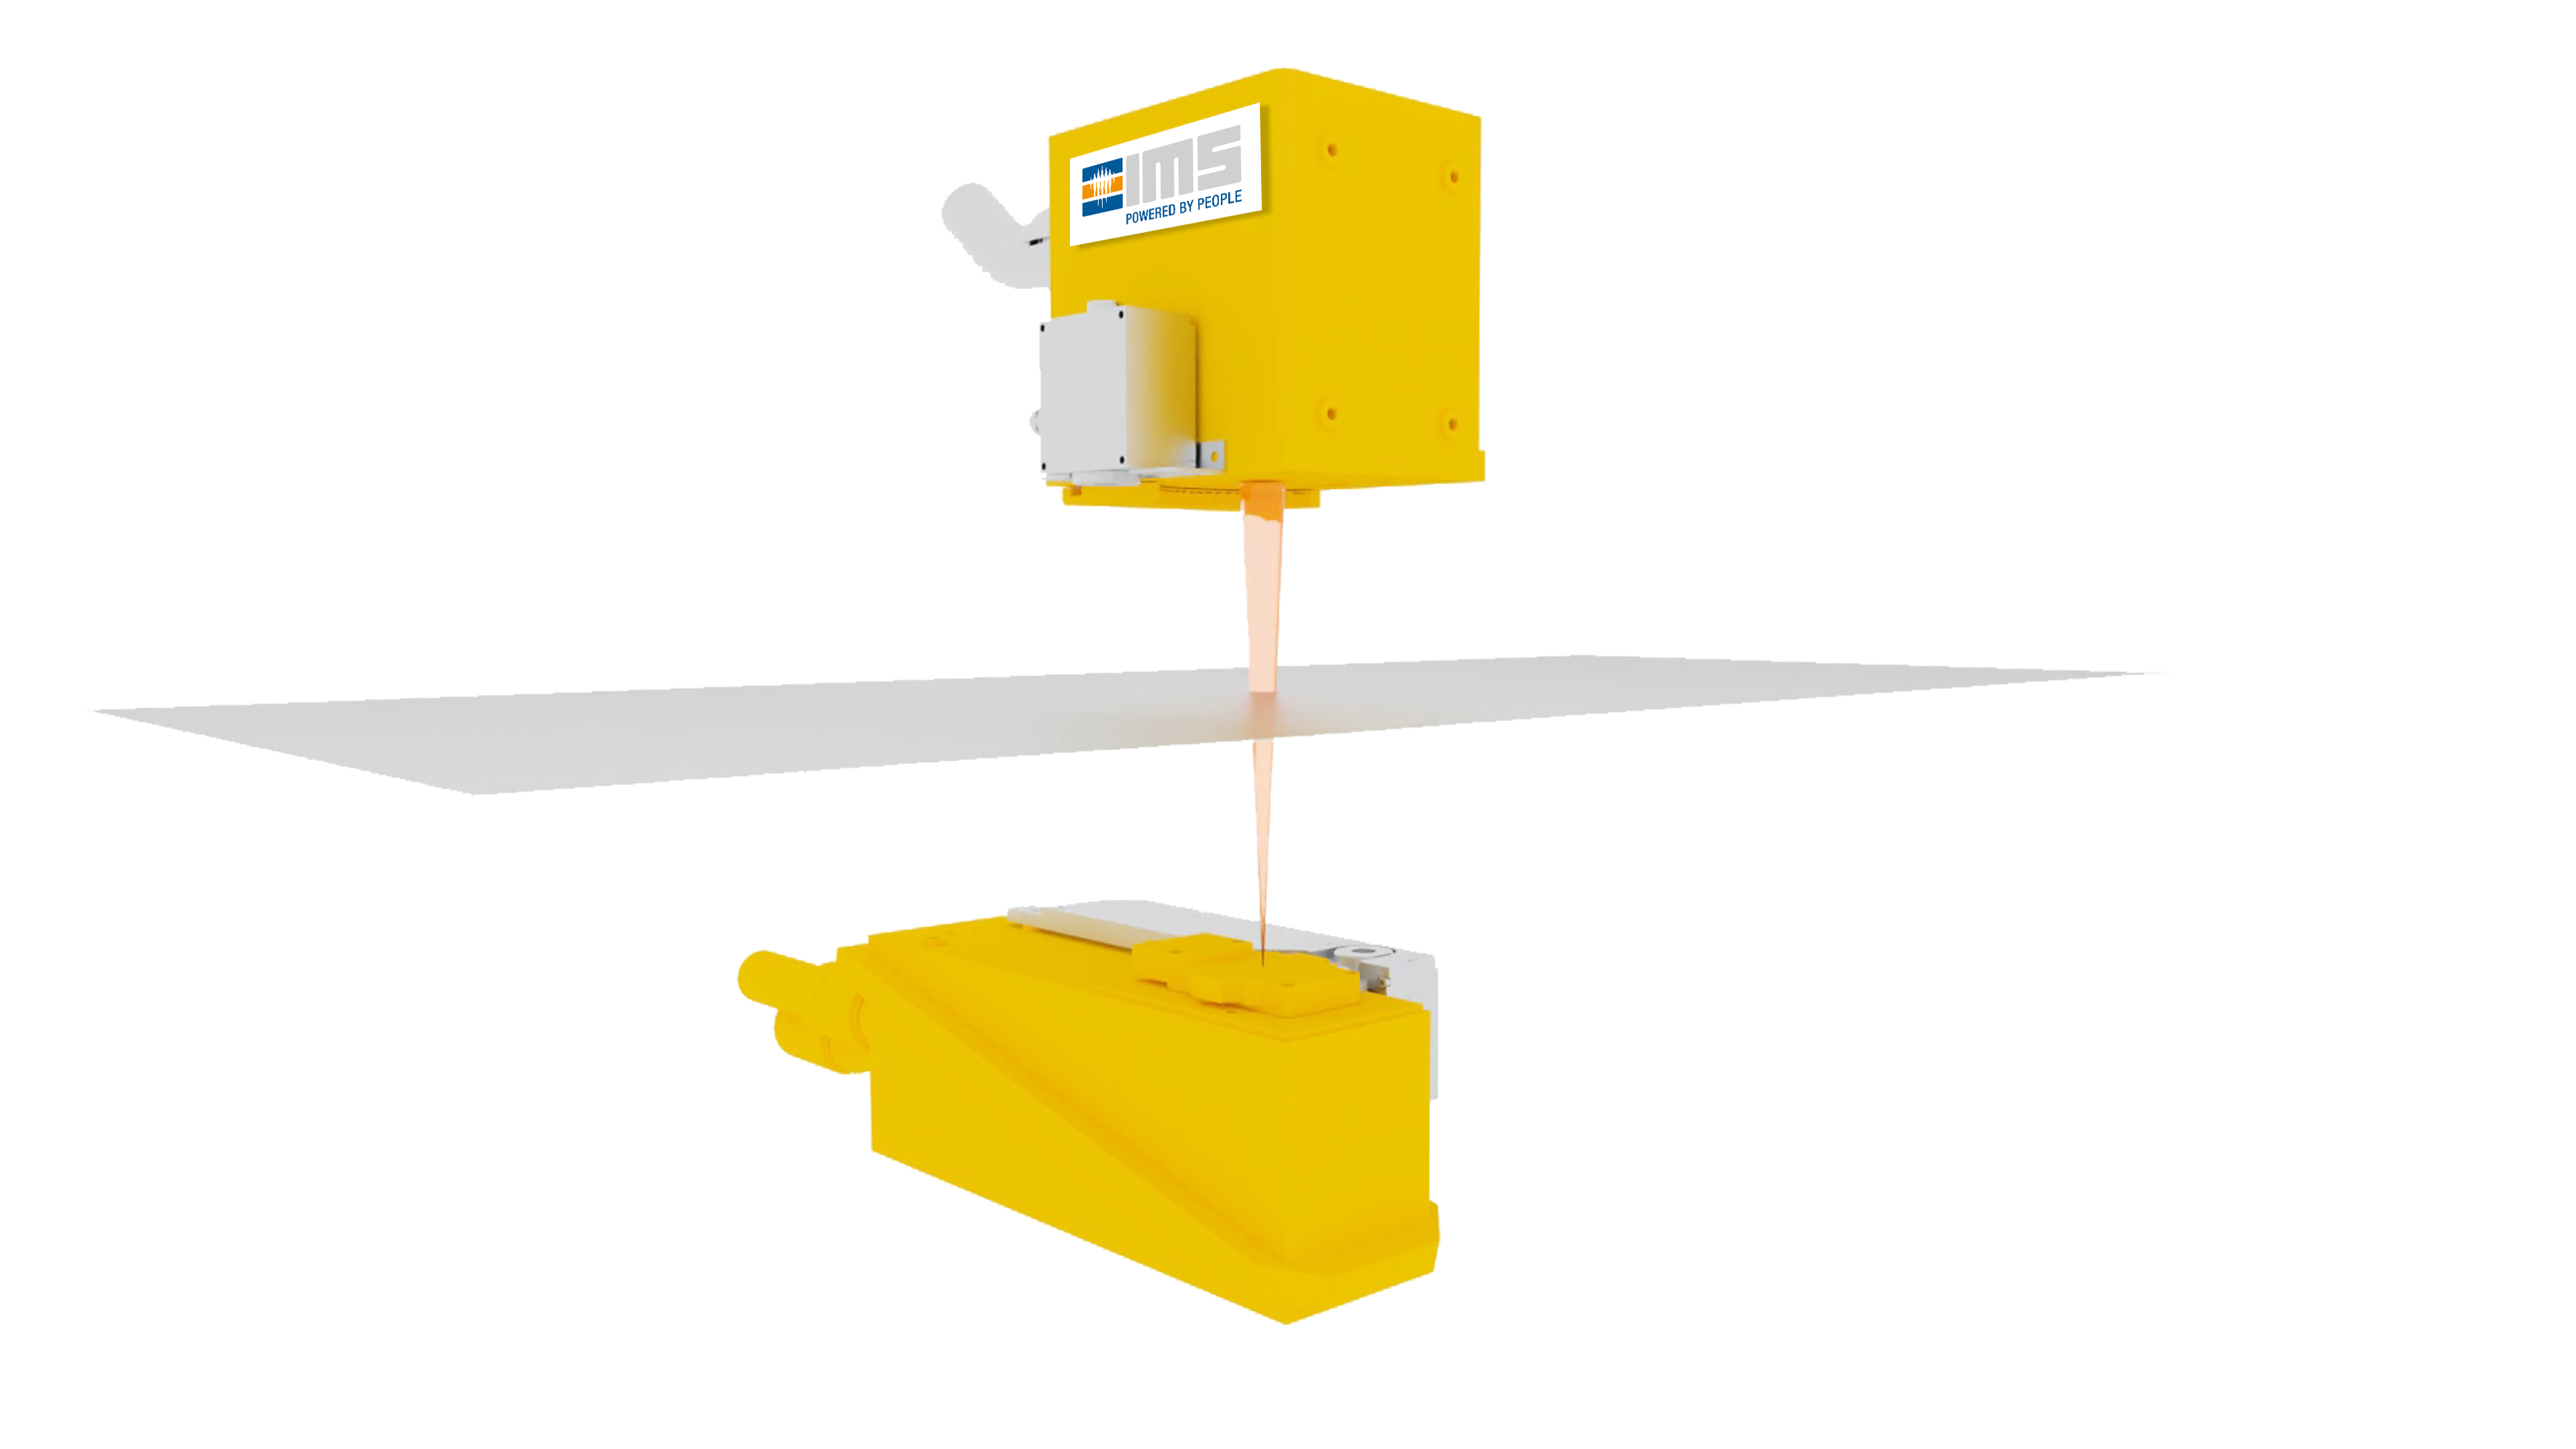
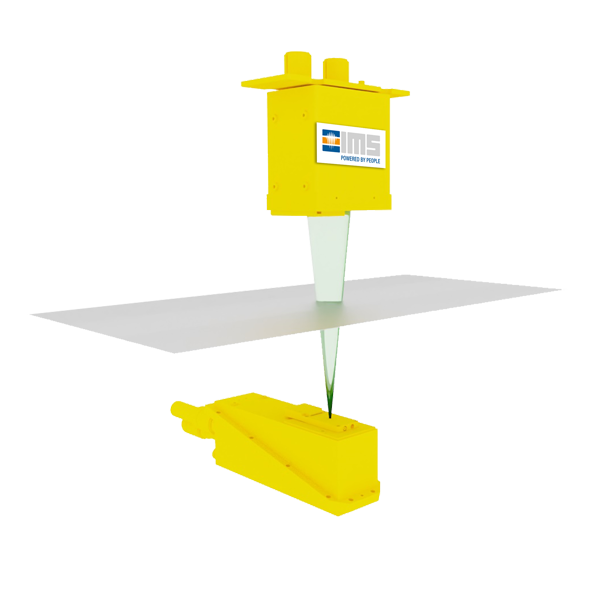
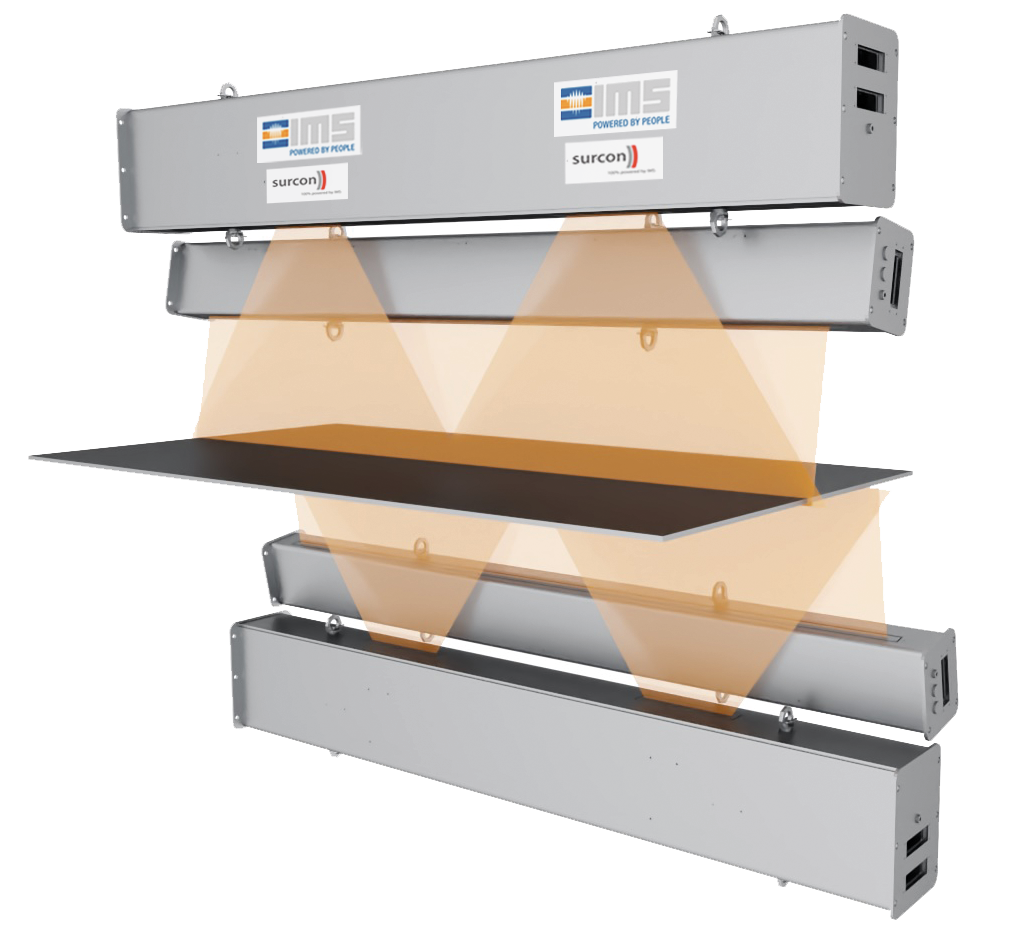
The measurement is based on optical reflection, in which the entire cut edge is detected. The measuring system is able to measure the length (L), width (W), diagonals (D1, D2), angles (A, B) and squareness (S) for every sheet.
Storage of the measurement results is, of course, an integral part of the system.
– length
– width
– squareness
– parallelism
optional:
– camber
– sheets with scrap-minimizing shapes such as trapezoid, rhombus and scroll
Special Features
- reliable IMS hardware ensures long-lasting and low-maintenance operation in a compact and lightweight construction
- high-precision measurements on a wide range of material surfaces (from matt to glossy)
- high sampling rates through embedded FPGA image processing
- continuous sheet geometry measurement from the first to last with extremely high accuracy
- suitable for cut-to-length lines as well as multi-cut-to-length lines
- quality reports for each individual sheet / plate
- online visualisation of results and report generation via user-defined results interface

…to the verifiability of flatness previously required, your best customer suddenly also needs the exact geometry of the plates to be delivered. Do you now lose the order or is there a possibility to retrofit a measuring system despite the cramped conditions? What advantage does this investment bring me, apart from the fact that it satisfies just this one customer?
Not only in slitting and cut-to-length lines, but also in pickling lines, recoiling lines and inspection lines, it is necessary to meet growing customer demands on product quality. These are challenges that I am confronted with every day and for which we at IMS have developed a product portfolio specially tailored to metal service centres.
We set new standards with our systems and reach new dimensions with our efficient, digital and durable measurement technology. The systems are designed precisely for your application, and with our Life Cycle Partnership you are always on the safe side.”
Reserve your personal consultation appointment now!
Choose between a scheduled call back, a Teams video conference or simply use our contact form.
We look forward to hearing from you!

CCS
Sheet Geometry
Measuring System
Sheet Geometry
Measuring System
Technical Information
Material data
Typical thickness range:
up to 6 mm, but not limited
Max. speed:
up to 150 m/min, but not limited to
Width:
up to 2,400 mm, but not limited to
Sheet- / Plate length:
from 300 mm up to 8,000 mm, but not limited to
Measurement system data
Gauge type:
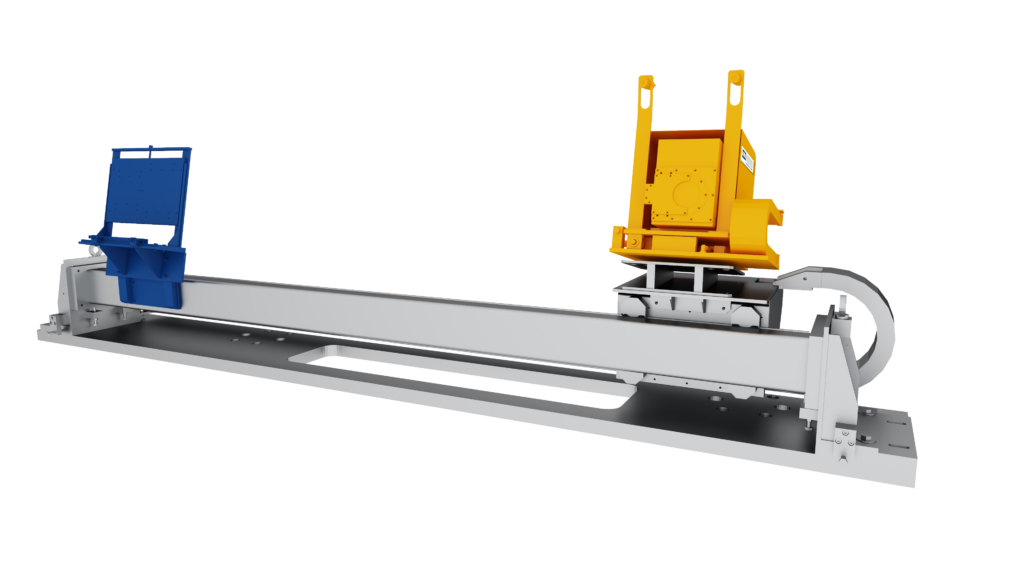
customized frame with moveable CCS
Radiation source:
High Power LED
Camera type:
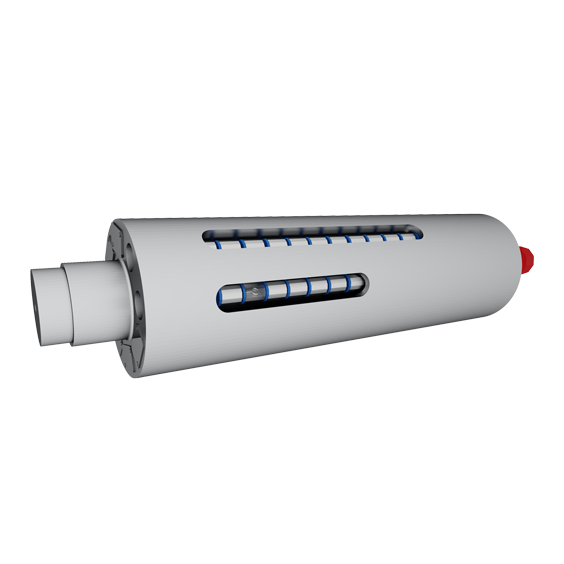
CCS (16 cameras per cluster)
Typical working distance:
350 mm with 60 mm field of view
Measuring dynamics
Sampling rate:
depends on application
Measuring accuracy
Length & width accuracy:
> 0.1 mm/m (2 σ) typical
Measure.Inspect.Detect.
Product Catalogue for Aluminium Rolling Mills
- Learn more about the product portfolio of our high-precision measuring systems for aluminium hot strip rolling mills and cold strip rolling mills
- Standard systems for measurement and detection of slab dimension, thickness, thickness profile, length, width, temperature, speed, 2D surface inspection as well as various special systems
- Special designs possible on customer request
IMS Measuring Systems for Aluminium Cold Rolling Mills
(Aluminium Hot Rolling Mills)
XR Traversing Thickness Profile Measuring System
(Aluminium Hot Rolling Mills)
XR Traversing Thickness Profile Measuring System (cold rolling mill)
(Aluminium Cold Rolling Mills)
(Aluminium Cold Rolling Mills)
(Aluminium Cold Rolling Mills)
(Aluminium Cold Rolling Mills)

